Private Label, White Label, Wholesale partnerships available - EU, USA and UK - Free shipping from €75
Lab contamination prevention: A step-by-step guide for reliable results
Discover our comprehensive guide to lab contamination prevention. Ensure reliable results and protect your research with these essential steps!
TL;DR:
- Contamination events can invalidate weeks of research and consume resources, often going undetected until significant effort is wasted.
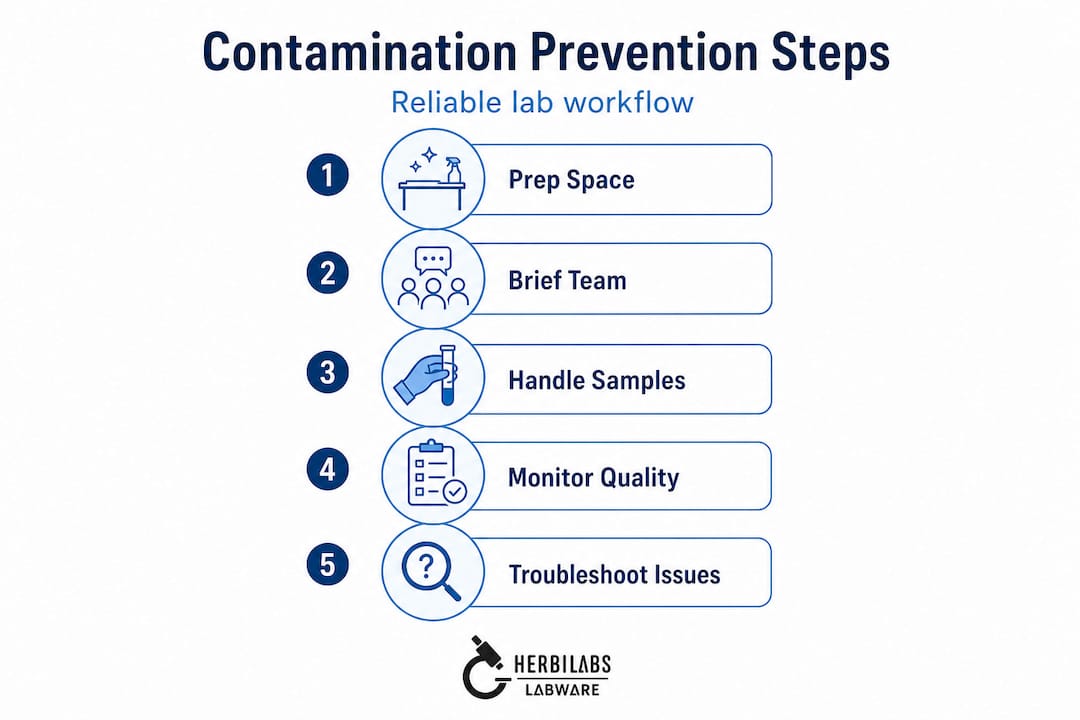
- Preventing contamination requires a structured approach, including environmental prep, procedural rigor, quality control, and thorough team training.
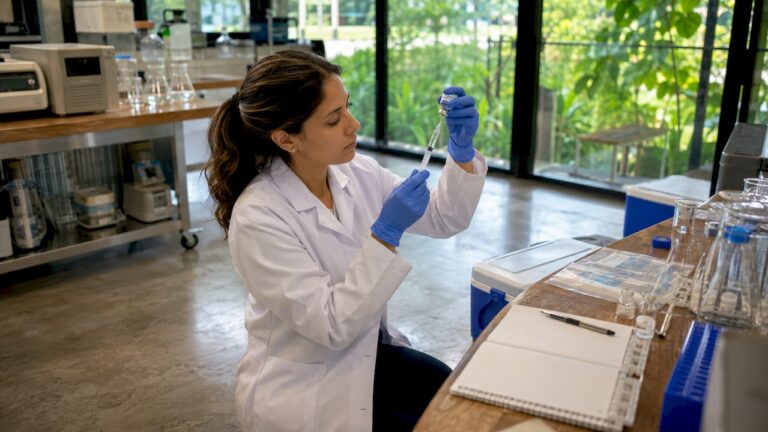
A single contaminated sample can erase weeks of carefully executed experimental work, invalidate critical results, and consume resources that no laboratory budget absorbs comfortably. Contamination events compromise research validity in ways that often go undetected until significant downstream effort has already been invested. This guide delivers a structured, evidence-backed approach to contamination prevention, moving systematically through environmental preparation, procedural execution, quality control integration, and troubleshooting, so laboratory managers, researchers, and procurement specialists can build a genuinely robust defense against contamination at every workflow stage.
Table of Contents
- Prepare your lab environment and team
- Step-by-step procedures: Collection, handling, and workflow execution
- Quality control, monitoring, and troubleshooting
- Common pitfalls and advanced insights
- What most labs get wrong about contamination prevention
- Upgrade your contamination control: Reliable products for better research
- Frequently asked questions
Key Takeaways
| Point | Details |
|---|---|
| Preparation is critical | Quality tools, workspace readiness, and clear roles lay the foundation for contamination prevention. |
| Follow proven procedures | Step-by-step best practices reduce contamination risk in sensitive workflows like blood culture and molecular assays. |
| Document and monitor | Consistent documentation and monthly KPI checks are essential to detect and mitigate contamination. |
| Advance beyond basics | Integrate controls, tailor risk responses, and apply empirical feedback for truly reliable results. |
| Quality products matter | Using high-purity labware and reagents further strengthens your contamination prevention strategy. |
Prepare your lab environment and team
With the urgent need for contamination control clear, let’s start by building the right foundation. No prevention strategy succeeds without the correct tools, a well-organized workspace, and a team that understands its specific roles and responsibilities.
Essential setup: Tools, PPE, and documentation
The table below summarizes the core resources required before any contamination-sensitive workflow begins.
| Category | Essential items | Purpose |
|---|---|---|
| PPE | Nitrile gloves, lab coat, face shield, head cover | Physical barrier between operator and sample |
| Cleaning agents | 70% isopropyl alcohol, bleach solution (10%), sporicidal agents | Surface and instrument decontamination |
| Equipment | Biosafety cabinet (BSC), autoclave, certified pipettes | Controlled manipulation environment |
| Consumables | Sterile single-use tubes, certified tips, sealed containers | Prevent cross-contamination |
| Documentation | SOPs, batch records, incident logs, calibration certificates | Traceability and process accountability |
Selecting labware with verified purity standards is equally important as the physical setup. Reagent-grade vessels and pipette tips certified free of nucleases and endotoxins eliminate a common, often overlooked source of background contamination.
Workspace readiness actions
Before workflows begin, complete the following workspace preparation steps:
- Clear and wipe down all bench surfaces with an appropriate disinfectant, then allow adequate contact time before placing any equipment.
- Verify that waste containers are correctly labeled (biohazard, chemical, sharps) and positioned within arm’s reach to minimize improper disposal.
- Confirm hand hygiene stations (soap, alcohol-based rub) are stocked and accessible at every entry point.
- Segregate clean and dirty areas physically, using colored tape or signage to enforce directional workflow from clean to contaminated zones.
- Check that all consumables are within their certified use-by date and that packaging is intact prior to opening.
- Document equipment calibration status, including pipette certification and autoclave cycle logs, before beginning sample preparation.
Team briefing and SOP review
Every team member involved in contamination-sensitive work should receive a briefing covering their specific role, the current SOP version, and any deviations from standard conditions on that day. This is not optional formality. Role clarity prevents the kind of task overlap and assumption-based shortcuts that create contamination events. Assigning a designated “clean handler” and a “sample handler” in high-sensitivity workflows, for example, is a straightforward structural fix that measurably reduces cross-contamination risk.
BSC contamination control depends critically on correct cabinet placement, validated user technique, and decontamination behaviors that are applied consistently every session.
Pro Tip: Position your BSC at least 12 inches from walls and high-traffic pathways to prevent disruption of the laminar airflow pattern. Keep the cabinet surface clear of excess reagents, paper notes, and equipment that is not immediately in use. Clutter inside a BSC disrupts airflow and creates dead zones where contaminants can accumulate undetected.
Step-by-step procedures: Collection, handling, and workflow execution
Once the environment is ready and teams briefed, execution relies on each step being performed to standard. Two workflow categories demand the highest procedural rigor: blood culture collection and molecular or low-biomass assays. Each has specific, validated protocols that go beyond generic aseptic technique.
Blood culture collection: Sequential protocol
- Perform hand hygiene using a WHO-approved technique, then don sterile gloves immediately before the procedure.
- Select the venipuncture site and apply an antiseptic agent (chlorhexidine gluconate 2% is preferred) using a single-direction friction wipe; allow the full recommended contact time, typically 30 seconds.
- Do not re-palpate the site after antisepsis without re-disinfecting the gloved finger.
- Draw the appropriate blood volume as specified by your institution’s protocol. Correct blood culture volumes are directly associated with reduced contamination rates and improved pathogen recovery.
- Inoculate aerobic bottles first to minimize air introduction into anaerobic bottles, using a sterile needle change between patient and bottle.
- Label all specimens at the point of collection, not retrospectively at the bench.
- Document collection time, phlebotomist ID, and any procedural deviations immediately in the batch record.
Molecular and low-biomass assays: Key safeguards
Low-biomass molecular workflows require controls and cross-contamination safeguards that go beyond standard clinical collection protocols. The following steps apply specifically to PCR, metagenomics, and similar high-sensitivity applications:
- Prepare a dedicated nucleic acid extraction area, physically separated from post-amplification zones.
- Include extraction blanks (no-template controls) with every batch to detect reagent or environmental contamination.
- Use certified nuclease-free water and reagents; verify lot-specific certificates of analysis before use.
- Change gloves between every major procedural step and avoid touching face, bench surfaces, or non-sterile objects during manipulation.
- Decontaminate all surfaces with a DNA-deactivating agent (10% bleach followed by 70% ethanol) before and after each session.
- Run positive and negative controls in every assay batch and document the results alongside sample data.
Classic vs. modern approaches: Comparison table
| Workflow element | Classic approach | Modern/best-practice approach |
|---|---|---|
| Skin antisepsis | Povidone-iodine swab | Chlorhexidine gluconate 2% with contact time |
| Glove use | Single pair throughout | Change gloves between critical steps |
| BSC decontamination | UV lamp only | 70% ethanol wipe plus UV as supplement |
| Controls | Positive control only | Both positive and negative controls per batch |
| Documentation | Paper log (end of day) | Real-time electronic batch records |
| Reagent verification | Visual inspection | Lot-specific certificate of analysis review |
Understanding aseptic technique in manufacturing contexts reinforces why these modern standards exist. The manufacturing-grade rigor applied in pharmaceutical fill-and-finish operations translates directly into research lab practice, particularly for workflows involving sterile reconstitution and sample preparation.
To maintain labware integrity across workflow steps, ensure that all containers remain sealed until the moment of use and that reconstituted solutions are handled within validated time windows.
Pro Tip: When working inside a BSC, always move arms slowly and deliberately in and out of the cabinet work zone. Rapid arm movements disrupt the laminar airflow barrier and can introduce external contaminants into the clean zone. Never rely on UV exposure alone as a decontamination method; UV is a supplementary measure, not a validated substitute for chemical and procedural controls.
Quality control, monitoring, and troubleshooting
After rigorous execution, ongoing verification and rapid troubleshooting maintain lab reliability. Quality control is the mechanism by which laboratories detect failures that procedural discipline alone cannot prevent.
Key indicators for contamination monitoring
Effective contamination surveillance tracks the following KPIs at defined intervals:
- Contamination rate per batch: The percentage of samples or cultures returning positive results attributed to contamination rather than true positives.
- Positive control performance: Whether positive controls are returning expected signal within specified tolerance ranges.
- Negative control failure frequency: How often no-template or blank controls produce detectable signal, indicating background contamination.
- Deviations logged per workflow: The total number of recorded procedural deviations, which correlate with contamination risk elevation.
- Equipment decontamination compliance rate: Verified completion of BSC and surface decontamination logs.
- Reagent certificate compliance: Percentage of reagent lots in use with current, verified certificates of analysis on file.
LQMS (Laboratory Quality Management System) protocols require routine documentation, defined KPIs for contamination events, and batch quality control materials including blanks and controls, to support systematic detection and structured response.
CDC contamination metrics should be evaluated at a minimum monthly frequency, with responsive mitigation strategies implemented when rates exceed predefined thresholds.
Troubleshooting scenarios, root causes, and fixes
| Scenario | Likely root cause | Recommended corrective action |
|---|---|---|
| Elevated blood culture contamination rate | Poor skin antisepsis technique or site re-palpation | Retrain phlebotomy staff; audit antiseptic contact times |
| Negative control signal in PCR batch | Aerosol contamination or reagent lot issue | Replace reagent lot; increase bench decontamination frequency |
| Inconsistent positive control results | Reagent degradation or pipetting error | Re-verify reagent storage conditions; recalibrate pipettes |
| Repeated cross-contamination between samples | Inadequate glove change frequency | Mandate glove changes at defined steps; review workflow layout |
| High deviation count in monthly log | SOPs outdated or insufficiently specific | Revise SOPs to include step-level detail; schedule retraining |
QC is not optional. Embedding contamination monitoring directly into routine operations, rather than treating it as a periodic audit activity, is the defining difference between laboratories that catch failures early and those that discover them after results have been reported. Both CDC and LQMS frameworks are explicit: quality control must be continuous, documented, and responsive.
Review your quality control checklist periodically to ensure all monitoring activities remain current with best practice standards, and consult established lab QC guidance when designing new monitoring workflows.
Common pitfalls and advanced insights
Nothing undermines a prevention program like hidden procedural assumptions and missed opportunities for systematic rigor. The following pitfalls are encountered frequently in otherwise well-resourced laboratories.
Common mistakes to avoid
- Over-reliance on visual cleanliness: A visually clean surface may harbor nucleic acids, endotoxins, or viable microorganisms that are invisible to the naked eye. Visual inspection is not a validated decontamination endpoint.
- Skipping negative controls: Omitting no-template controls in molecular workflows eliminates the primary mechanism for detecting background contamination, allowing false positives to pass undetected.
- Misunderstanding PPE selection: Standard nitrile gloves provide adequate chemical resistance for most applications but do not protect against all solvents or biological hazards. Matching PPE specification to the specific hazard class of each reagent is essential.
- Assuming new consumables are sterile: Pre-packaged tips, tubes, and plates may be certified nuclease-free but not sterile unless explicitly stated. Reviewing the certificate of analysis for each lot prevents assumptions that compromise results.
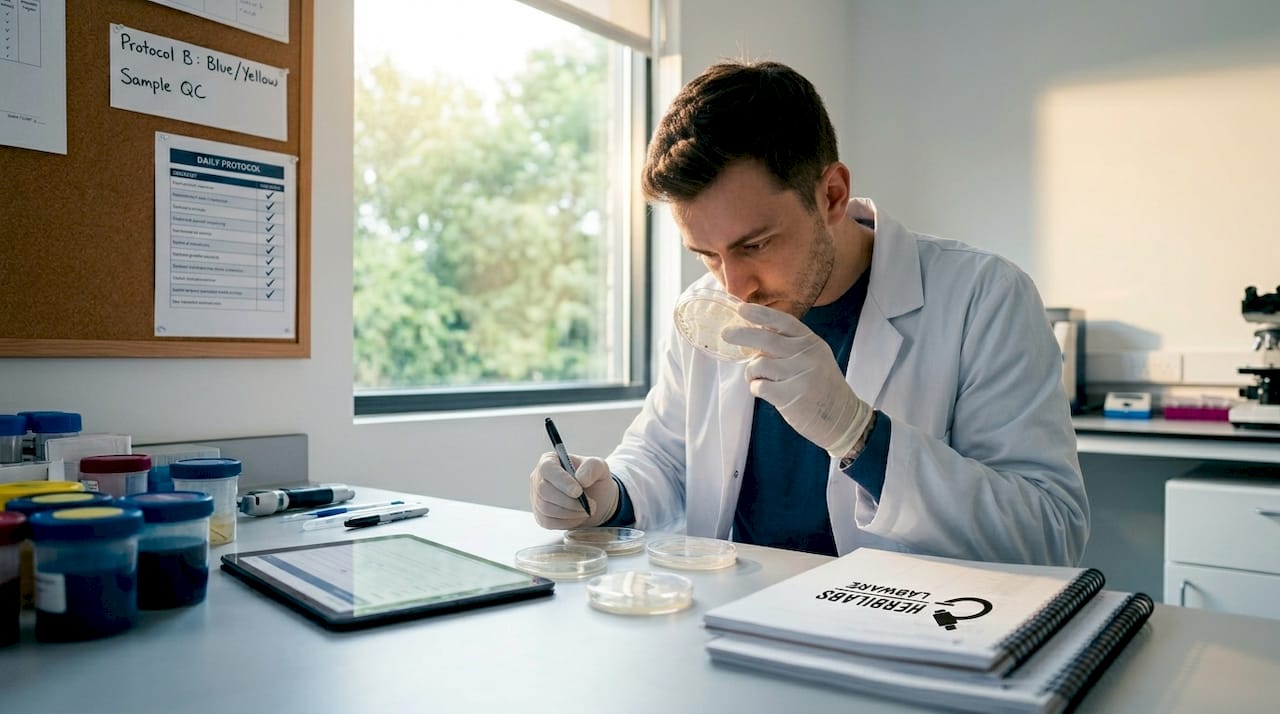
- Inconsistent documentation timing: Recording procedures after the fact, from memory, introduces errors and reduces the traceability value of batch records. Real-time documentation is the only reliable standard.
- Neglecting environmental monitoring: Surface swabbing and air sampling in high-sensitivity work areas should be scheduled as routine activities, not reserved for investigation following a contamination event.
Advanced strategies for higher-level assurance
Rigorous controls and documentation carry equal weight to physical cleanliness in high-sensitivity omics and low-biomass assays, a point that separates expert laboratory practice from merely compliant procedure-following.
Barcode-based sample traceability systems eliminate transcription errors and create an auditable chain of custody from collection through analysis. Cross-contamination tracking dashboards, where contamination events are recorded alongside operator ID, equipment used, and reagent lot, enable pattern recognition that a simple incident log cannot provide. Risk-based PPE selection, applying a formal hazard assessment to each workflow rather than defaulting to a standard PPE tier, ensures that protection is calibrated to actual risk rather than general policy.
Sourcing contaminant-free labware from suppliers who provide verified certificates of analysis for every production lot is not an upgrade; it is a baseline requirement for any laboratory conducting sensitive research.
Pro Tip: Treat your contamination rate as a tunable empirical metric, not a fixed background variable. Benchmark your current rate against published institutional averages, identify your highest-contributing workflow, and implement a single targeted intervention before measuring the effect. Systematic, incremental improvement outperforms sweeping procedural overhauls that are difficult to sustain.
What most labs get wrong about contamination prevention
With the full range of preventive tactics covered, it is worth examining what truly distinguishes robust prevention from surface-level compliance.
The conventional assumption in many laboratories is that contamination is primarily a housekeeping problem: clean surfaces, sterile consumables, and proper PPE are treated as sufficient. In practice, the majority of persistent contamination failures trace back not to dirty benches but to weak feedback loops, inconsistent documentation, and poorly calibrated responses to actual risk signals. A laboratory can have spotless surfaces and still generate systematically contaminated results if its negative controls are never reviewed, its deviation logs are never analyzed, and its contamination rate is never benchmarked against a defined threshold.
The hard truth is that ongoing surveillance and rigorous controls are the crucial mechanisms through which process-specific contamination is detected and resolved. Physical cleanliness is a prerequisite, not a solution. A laboratory that tracks contamination as an empirical data point, evaluates it monthly, and closes the loop with targeted corrective action is operating in a fundamentally different quality tier than one that relies on annual audits and reactive investigation.
We recommend treating the laboratory as a living system. Protocols need recalibration as workflows evolve, personnel change, and reagent sources shift. Static checklists that were accurate twelve months ago may no longer reflect current risk conditions. Investing in lab QC fundamentals as an ongoing operational priority, rather than a one-time implementation, is what separates laboratories that sustain quality from those that periodically rediscover the same failure modes.
Upgrade your contamination control: Reliable products for better research
Having mastered contamination prevention methods, the next step is ensuring your lab is consistently equipped with products that meet the standards your protocols demand.

Herbilabs supplies high-purity reconstitution solutions manufactured under strict quality control conditions and verified by lot-specific certificates of analysis, precisely the standard that sensitive research workflows require. Understanding the benefits of high-purity reagents is fundamental to sustaining the contamination prevention practices outlined in this guide. For procurement specialists building or auditing a laboratory supply program, the essential labware checklist provides a structured starting point for identifying gaps and sourcing verified replacements. Every product Herbilabs supplies is designed to support research integrity from the first step of sample preparation to the final result.
Frequently asked questions
What are the most effective strategies for blood culture contamination prevention?
Proper collection technique, adequate sample volume, validated skin antisepsis with appropriate contact time, and ongoing contamination surveillance with structured feedback represent the most evidence-supported combination of interventions.
How do negative controls help in low-biomass or molecular workflows?
Negative controls reveal background contamination levels in reagents and the environment, ensuring that any detected signal originates from the actual sample rather than incidental cross-contamination introduced during processing.
Why is documentation critical in contamination prevention?
Documentation creates the traceability needed for root-cause analysis and tracks quality incidents over time, as LQMS frameworks require to maintain process accountability and support corrective action.
Is regular UV decontamination enough to prevent contamination?
No. UV exposure is a supplementary measure only. As BSC contamination guidance specifies, validated chemical decontamination and correct procedural technique are the primary controls; UV must never be used as a standalone method.
How often should contamination monitoring be performed?
Contamination events and associated KPIs should be reviewed at least monthly, with targeted mitigation measures implemented promptly when rates exceed predefined acceptable thresholds.