Private Label, White Label, Wholesale partnerships available - EU, USA and UK - Free shipping from €75
Lab sterility: proven steps to a contamination-free lab
Discover proven steps on how to ensure lab sterility and protect your experiments. Optimize your lab for contamination-free results!
TL;DR:
- A contaminated reagent vial can compromise weeks of cell culture work and necessitate costly repeats. Maintaining continuous, validated sterility through proper environmental, equipment, and procedural controls is essential for reliable experiment outcomes. Regular staff training, equipment certification, and environmental monitoring are critical components of effective sterile laboratory practice.
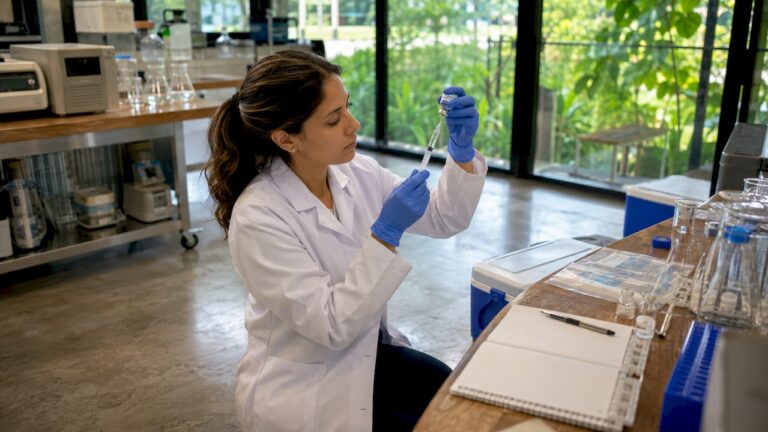
A single contaminated reagent vial can invalidate weeks of upstream cell culture work, force costly batch repeats, and introduce uncertainty that undermines publication-ready data. That scenario plays out in laboratories around the world when sterility assurance is treated as a final checkpoint rather than a continuous, process-driven discipline. This guide presents structured, practical strategies for maintaining laboratory sterility at every stage of experimental work, from physical environment qualification through aseptic workflow execution and routine verification, so that researchers and laboratory managers can eliminate the guesswork and protect the integrity of every experiment.
Table of Contents
- Understand the essentials: What is lab sterility and why does it matter?
- Assembly and validation: Preparing your lab for sterile work
- Aseptic workflow: Step-by-step techniques to safeguard sterility
- Routine verification and environmental monitoring: Confirming ongoing sterility
- Why testing alone isn’t enough: What years of lab experience taught us
- Find proven solutions for sterile lab work
- Frequently asked questions
Key Takeaways
| Point | Details |
|---|---|
| Validated process beats testing | Sterility assurance comes from validated manufacturing controls, not just final test results. |
| Routine equipment certification | Field-certify biosafety cabinets and sterilization equipment regularly to prevent undetected hazards. |
| Aseptic workflow is essential | Strict aseptic technique during sessions reduces contamination and ensures reliable outcomes. |
| Continuous environmental monitoring | Particle and viable monitoring in critical environments detects issues in real time for improved sterility control. |
| Process breakdowns are common | Most sterility failures are caused by gaps in equipment certification and handling—not just flaws in sterilization. |
Understand the essentials: What is lab sterility and why does it matter?
Laboratory sterility refers to the complete absence of viable microorganisms, including bacteria, fungi, spores, and mycoplasma, within a defined environment, preparation, or material. It is not a binary state achieved by a single decontamination step; rather, it is a sustained condition maintained through a hierarchy of validated controls. Understanding this distinction is foundational to avoiding the most common and costly misconceptions in sterile laboratory practice.
The sterility assurance pyramid places validated process controls at its base, followed by equipment and environmental validation, and positions sterility testing at the apex as a confirmatory step only. As documented in industry-standard guidance, sterility assurance is achieved through validated processes and controls rather than testing alone. A product or environment that passes a sterility test is not inherently sterile if the upstream process was compromised; the test merely failed to detect the contamination present.
Key terminology that laboratory personnel must understand precisely includes the following:
- Aseptic technique: A set of practices designed to prevent the introduction of microorganisms into a sterile environment or preparation during handling.
- Sterilization: A validated physical or chemical process that destroys or removes all forms of viable microorganisms, including endospores.
- Bioburden: The total number of viable microorganisms present on or in a product or surface prior to sterilization.
- Containment: Physical or procedural barriers that prevent the spread of viable contaminants from one zone to another.
| Concept | Definition | Primary purpose |
|---|---|---|
| Process sterility | Sterility achieved through validated manufacturing controls | Primary assurance |
| Sterility testing | Confirmatory microbiological examination of samples | Secondary verification |
| Aseptic technique | Procedural discipline during open-vessel work | Contamination prevention |
| Environmental monitoring | Ongoing sampling of air, surfaces, and personnel | Trend detection |
The practical consequences of sterility failures extend well beyond discarded batches. Contaminated cell cultures introduce phenotypic changes that distort dose-response data. Mycoplasma infection, in particular, alters cellular metabolism, gene expression, and cytokine profiles without producing visible turbidity, meaning infected cultures may appear normal for extended periods. Understanding aseptic manufacturing in biotech further clarifies why process integrity, rather than endpoint testing, defines reliable sterility assurance.
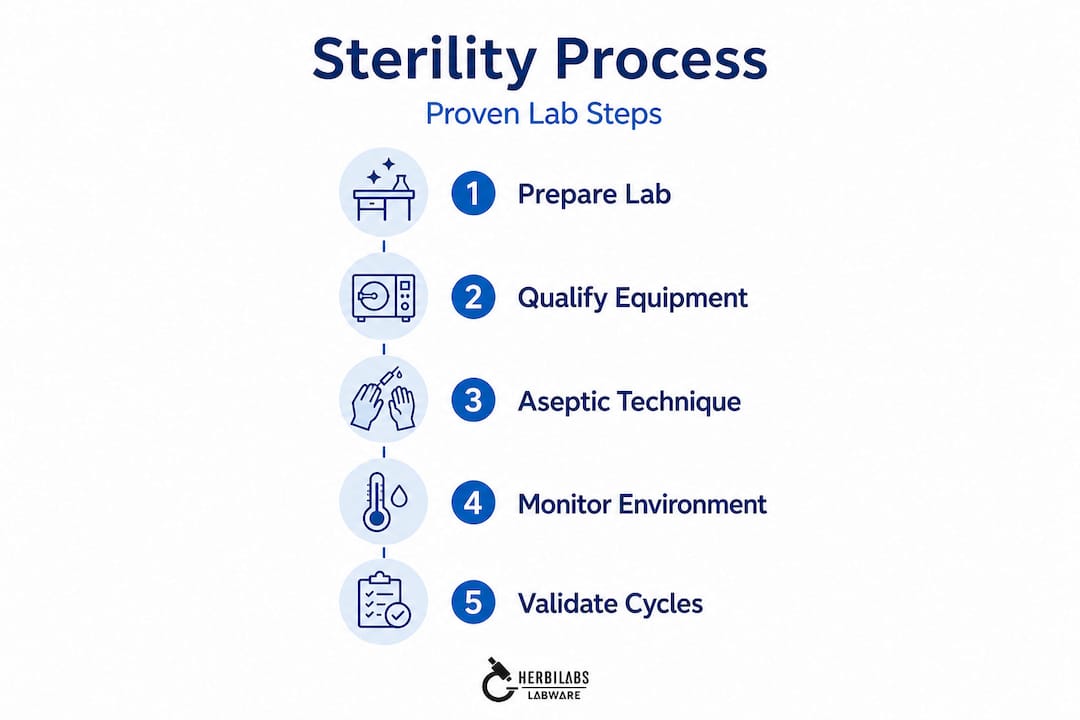
Assembly and validation: Preparing your lab for sterile work
Before any aseptic activity begins, the physical environment must be formally qualified. This preparation phase encompasses laboratory layout design, equipment certification, and environmental classification, each of which must be documented and reviewed periodically.
Laboratory layout and sterile zone designation are the starting points. Sterile zones should be physically separated from general laboratory areas using anteroom or gowning room transitions. Traffic patterns must be designed to move from less clean to more clean areas, never in reverse. Work surfaces within sterile zones must be constructed from non-porous, chemical-resistant materials that can withstand repeated disinfection with 70% isopropyl alcohol and sporicidal agents.
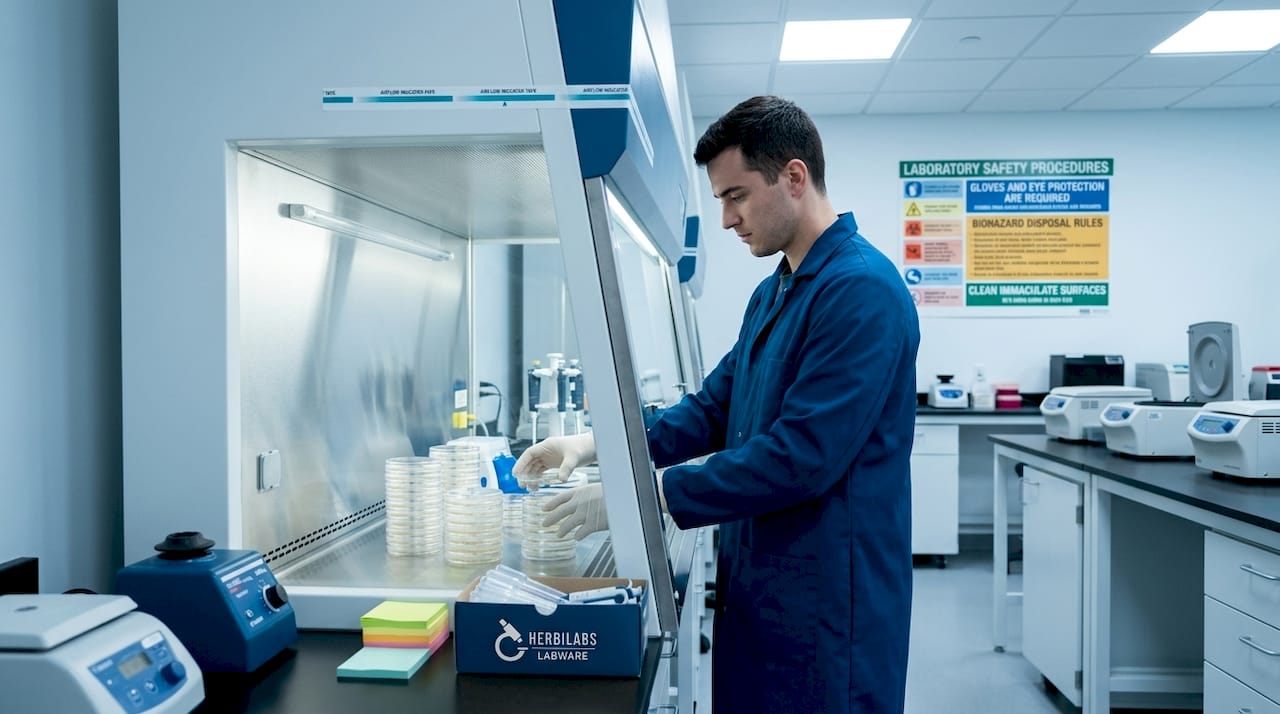
Biosafety cabinets (BSCs) are the primary containment infrastructure for most sterile laboratory operations. They are not simply ventilated enclosures; they are precision airflow devices that require rigorous certification schedules to function as designed. Per authoritative guidance, BSCs used as primary containment should be field-certified at installation, after any repair or relocation, and at least annually. Field certification involves HEPA filter integrity testing, airflow velocity profiling, and inflow velocity measurement, all performed by an accredited NSF/ANSI 49 certifier.
Environmental classification determines the acceptable microbial and particle limits for a given work area. For pharmacopoeial sterility testing conducted under USP <71>, the test environment must meet ISO Class 5 (Grade A) standards, which corresponds to a maximum of 3,520 particles per cubic meter at 0.5 microns or larger, and zero colony-forming units per cubic meter of air during active operations.
The following checklist summarizes the physical tools and materials required before initiating sterile work:
- Certified BSC (Class II Type A2 minimum for most biological work)
- Validated autoclave with documented cycle parameters
- Sterile, single-use consumables (pipettes, tips, tubes, filters) from verified suppliers
- 70% ethanol and appropriate sporicidal surface disinfectants
- Sterile gloves, gowning, and face protection
- Calibrated temperature monitoring for incubators and cold storage units
- Documented environmental monitoring program with alert and alarm thresholds
When selecting equipment and materials for controlled environments, the precision standards applied to medical device prototyping offer a useful parallel: component and environmental qualification is not optional documentation but a prerequisite to reliable function. The same principle applies directly to laboratory sterility infrastructure. Additionally, guidance on maintaining labware integrity and an essential labware checklist provide detailed, applied frameworks for consumable selection and storage management.
Pro Tip: Never assume that a recently repaired or relocated BSC is ready for sterile work. Even a minor HEPA filter disturbance or cabinet move requires recertification before any aseptic activity resumes. A cabinet that passes visual inspection may fail airflow velocity and HEPA integrity tests by substantial margins.
Aseptic workflow: Step-by-step techniques to safeguard sterility
Validated physical infrastructure creates the conditions for sterile work; correct aseptic technique actually achieves it. Established aseptic technique best practices for sterile work include pre-stabilizing airflow in a biosafety cabinet, disinfecting the work area before and after all activities, minimizing the time vessels remain open, using a dedicated sterile workflow and space, and handling reagents to reduce contamination risk at every step.
The following numbered sequence represents a validated session setup protocol for aseptic work in a Class II BSC:
- Power on the BSC and allow the blower to run for a minimum of 15 minutes before beginning work. This stabilizes laminar airflow and clears residual particles from the work zone.
- Wipe all interior surfaces with 70% isopropyl alcohol using lint-free wipes, working from the back to the front and from clean to potentially contaminated areas. Allow contact time as specified by the disinfectant manufacturer.
- Arrange materials before gloving up. Position all items so that clean materials are at the rear and waste receptacles are at the front or sides, minimizing cross-contamination potential during work.
- Don sterile gloves and spray the outer surface with 70% ethanol before entering the cabinet. Gloves should be re-sprayed after any contact with non-sterile surfaces.
- Introduce materials into the cabinet one at a time, wiping external surfaces of bottles, vials, and packaging with ethanol-soaked wipes before placing them inside.
- Work smoothly and deliberately. Rapid movements disrupt laminar airflow. Keep hands and arms parallel to the work surface whenever possible, and avoid moving hands over open vessels.
- Minimize open vessel time. Uncap vials, tubes, and culture flasks only immediately before use and recap them as soon as the task is complete. The longer a vessel remains open in any environment, the greater the probability of viable particle deposition.
- Complete all work before removing materials. Wipe internal surfaces with 70% ethanol again after work, allow the blower to continue running for 5 minutes, then power down.
Warning: Surface contamination is often invisible at the time it occurs. A single undetected breach, such as placing a vial cap face-down on a non-sterile surface or allowing a pipette tip to contact the cabinet wall, can introduce enough viable microorganisms to generate a false-negative sterility result followed by experimental failure at a much later stage. Treating every step of the aseptic workflow as if it were the last line of defense is not excessive caution; it is validated practice.
Pro Tip: Always handle reagents freshly aliquoted for each session. Pre-aliquoting bulk reagents into single-use volumes prevents repeated access to a master stock and significantly reduces the cumulative contamination risk across a multi-week experiment. Review the aseptic techniques checklist for a structured framework covering reagent preparation and aliquoting procedures. For guidance on how lab supply quality affects downstream contamination risk, the relationship between source material purity and sterility outcomes deserves direct attention.
Routine verification and environmental monitoring: Confirming ongoing sterility
Process controls and validated environments must be confirmed continuously through structured monitoring programs. Verification activities serve two functions: they provide evidence that current controls remain effective, and they generate trend data that enables early detection of degradation before a sterility failure occurs.
Sterility testing under USP <71>, EP 2.6.1, or equivalent pharmacopoeial methods is a critical confirmatory tool, but its limitations are equally important to understand. Even when sterility tests are negative, sterility assurance still depends on whether design, procedural, and validation parameters were maintained during manufacturing and handling; testing is confirmatory, not primary assurance. A 14-day incubation period using thioglycollate broth and soybean-casein digest medium provides a reasonably sensitive screen, but it cannot detect all viable organisms, and sampling statistics mean that sparse contamination can be missed entirely.
Environmental monitoring (EM) programs for aseptic laboratories should include all of the following components:
- Active air sampling using volumetric air samplers at designated locations and intervals during critical operations
- Passive settle plates placed during operations to capture sedimentation rates of viable particles
- Surface contact plates applied to representative work surfaces, equipment handles, and gowning areas
- Personnel monitoring using contact plates on gloved hands and gowning surfaces before each critical session
For Grade A environments, continuous monitoring of viable and non-viable particles during critical processes is emphasized as the standard approach, with alert and alarm thresholds set based on historical data and regulatory guidance.
Alert limits signal a potential drift from normal conditions requiring investigation. Alarm limits indicate an excursion requiring immediate corrective action and potential product quarantine. Establishing these thresholds based on at least 30 data points over a qualification period provides a statistically valid baseline.
Autoclave revalidation is another component frequently neglected once initial qualification is complete. Sterilization processes should be validated and revalidated as part of a lifecycle approach; initial qualification includes temperature mapping, loading configuration studies, and biological indicator challenges using Geobacillus stearothermophilus spore strips, with ongoing requalification recommended annually when no major changes have occurred. Any change to load configuration, cycle parameters, or equipment repair triggers an out-of-schedule revalidation.
For additional guidance on verification practice, quality control tips for labs and water quality control tips address specific monitoring approaches relevant to reagent-grade water and consumable quality assurance, both of which directly affect sterility outcomes.
Why testing alone isn’t enough: What years of lab experience taught us
Most laboratories that experience recurring sterility failures share one characteristic: they invest heavily in testing and comparatively little in process qualification and personnel training. The assumption is that if the sterility test comes back negative, the process must be adequate. That logic is backward.
In practical terms, sterility failures most commonly stem from breaks in process sterility, specifically unqualified or uncertified airflow containment such as uncertified BSCs, and insufficient control over work practices including excessive open-vessel time and improper surface handling, rather than from inadequate sterilization methods. The autoclave is almost never the source of the problem. The problem is nearly always upstream, in the hands of the operator and the qualification status of the work environment.
We have observed that experienced researchers often develop habitual shortcuts that remain invisible during routine audits because they occur during the details of session work, not during formal observation periods. A pipette tip contaminated by brief contact with a non-sterile surface. A media bottle uncapped and left open during a phone conversation. A BSC with an overdue certification running three months past its annual inspection date. These are the real vectors of laboratory sterility failure, not failures of sterilization science.
The practical recommendation is this: audit not just equipment certification records, but staff handling practices in real time. Unannounced, systematic observations of aseptic sessions using a structured checklist will reveal behavioral drift that no amount of sterility testing can detect retroactively. For a thorough examination of how material quality intersects with process sterility, labware purity risks deserve direct attention; contamination introduced through substandard consumables negates even the most rigorous aseptic workflow.
The organizations that consistently achieve sterility assurance treat it as a quality system, not a testing protocol. Validation documentation, personnel training records, environmental monitoring trend analysis, and scheduled equipment certification are maintained as a living system reviewed quarterly. That discipline separates research environments that produce reliable, reproducible data from those that spend resources investigating contamination events after the fact.
Find proven solutions for sterile lab work
Achieving reliable laboratory sterility requires more than good technique; it depends on starting with materials that meet verified purity standards from the point of manufacture.

Herbilabs supplies research-grade bacteriostatic water, sterile diluents, and reconstitution solutions manufactured under strict quality controls designed to support exactly the kind of validated sterile workflows described in this guide. Whether you are preparing a protocol for selecting laboratory reagents for peptide research, reviewing labware purity best practices to tighten your quality system, or sourcing high-purity reconstitution solutions for sensitive research applications, Herbilabs provides contaminant-free products backed by rigorous manufacturing standards and reliable delivery across the UK and Europe.
Frequently asked questions
How often should I certify biosafety cabinets for sterility?
Biosafety cabinets must be certified at installation, after any repair or relocation, and at least annually to ensure proper containment and sterility assurance throughout their operational life.
Do negative sterility test results guarantee lab sterility?
No, negative test results do not guarantee sterility. As confirmed in pharmacopoeial guidance, sterility assurance still depends on whether design, procedural, and validation parameters were maintained throughout handling and manufacturing; testing is confirmatory only.
What monitoring approaches are used in Grade A cleanrooms for sterility?
Continuous particle monitoring of both viable and non-viable particles during critical processes, combined with alert and alarm threshold systems based on validated baselines, is the recommended standard for Grade A cleanroom contamination control.
How frequently should autoclave cycles for sterilization be revalidated?
Autoclave sterilization cycles should be revalidated annually when no major equipment or process changes have occurred, and immediately following any modification to load configuration, cycle parameters, or equipment repair.
What is the most common root cause of sterility failures in labs?
Most sterility failures originate from process breakdowns such as uncertified airflow containment, improper operator handling practices, and insufficient control over aseptic workflow, rather than from failures of the sterilization method itself.