Private Label, White Label, Wholesale partnerships available - EU, USA and UK - Free shipping from €75

Sterile vs Sanitized: What Each Term Means in the Lab
Ask which items on the bench in front of you must be sterile and which only need to be sanitized, and people often reach for one word that covers everything: clean. That answer folds a two-part question into one and hides the control that matters at each step. A sealed diluent vial and the laminate surface it rests on were never held to the same standard.
The confusion isn't really about vocabulary. It's that both terms get applied to a whole workspace instead of to individual elements of a procedure. A bench wiped with alcohol is clean and stays non-sterile. A vial supplied sterile stops being sterile the moment it's punctured and handled, even though nothing visible changed.
So the useful question isn't whether the work area is sterile. It's narrower and more answerable: for each element of this procedure, which control applies, and what evidence keeps that control visible to the next person who reads the record?
Table of Contents
- What Sterile and Sanitized Each Promise
- How Sterilization Methods Reach Zero Viable Microbes
- What Sanitizing Achieves and Where It Stops
- Deciding Sterile or Sanitized Status Element by Element
- Multi-Use Vials and the Preservative Trap
- Confirm the Right Term for Each Step Before You Work
What Sterile and Sanitized Each Promise
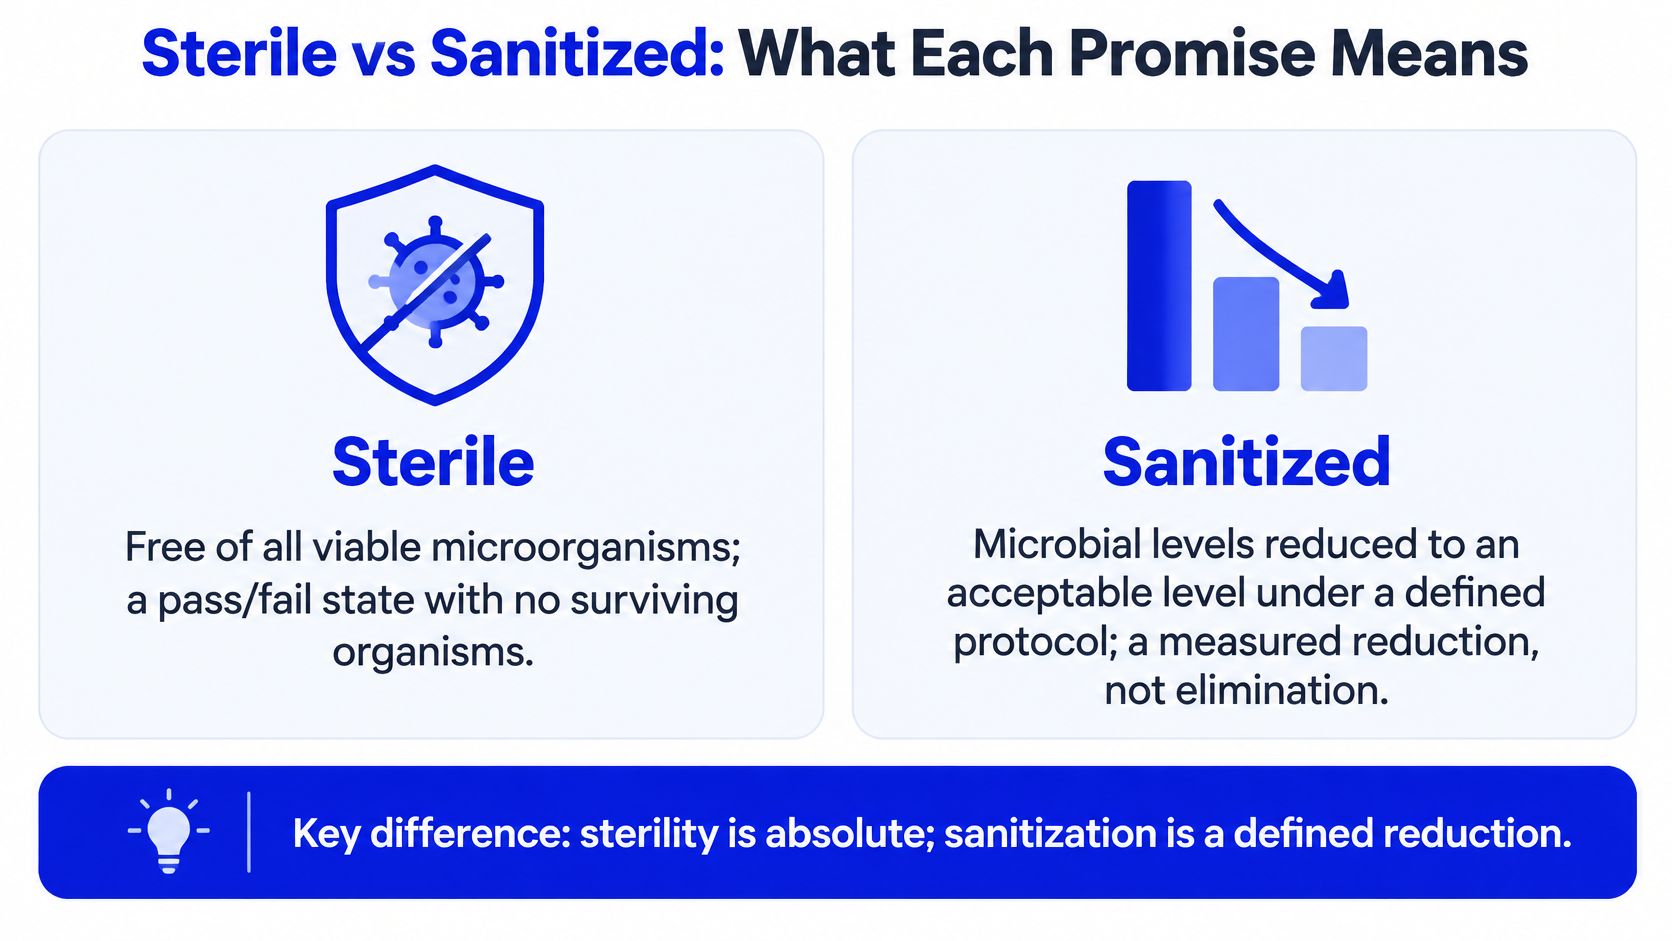
Sterile means an item carries no viable microorganisms. Sanitized means its microbial load has been reduced to a level judged acceptable under a defined protocol. One is a state with a pass or fail outcome. The other is a measured reduction against a number someone agreed to in advance.
Neither word describes a tool or a habit. They describe outcomes produced by a process, which is why you can sanitize an object thoroughly and still hold a non-sterile object in your hand. The method doesn't change the category. The category comes from what the method was validated to achieve.
Sterile and sanitized compared on the same criteria
| Criterion | Sterile | Sanitized |
|---|---|---|
| Core claim | Free of all viable microorganisms | Microbial load reduced to a level set by a defined protocol |
| Microbial endpoint | No viable microorganisms | Acceptable reduction, not zero |
| Typical methods | Steam under pressure, dry heat, 0.22 µm filtration, irradiation, ethylene oxide | Alcohol wipes, detergent cleaning, disinfectant solutions held for a set contact time |
| Verification | Validated cycles and sterility records | Cleaning logs and protocol checks |
| Applies to | Materials, containers, closures and components that contact the product | Work surfaces, tools, gloves and equipment during handling |
| Lab question it answers | Is this item free of living contaminants? | Is this surface or tool reduced to an acceptable level for this step? |
The most common mix-up runs in both directions. A bench wiped with disinfectant gets described as sterile in a batch record. The opposite error is quieter: a vial supplied sterile is assumed to stay that way after it's opened, wiped and punctured a dozen times, when its status now depends on how each access was performed.
Cleaning, disinfection, sanitization, sterilization
Four words sit on one ladder, and readers collapse them constantly. Cleaning removes soil and debris, which is a physical act and the step that makes everything after it work. Disinfection inactivates most microorganisms on a surface but not necessarily all of them, and not necessarily spores. Sanitization is the measured reduction to an acceptable level under a defined protocol. Sterilization is the elimination of all viable microbial life.
The deciding rule: an item is what its last validated process made it, not what the bench around it looks like.
The same logic scales down to a much simpler bench. A cultivator pressure-cooking substrate faces identical questions about what the heat reached and what stayed behind, and the walkthrough on sterilizing grain jars and bags makes the cycle-versus-visible-cleanliness distinction plain for anyone who wants a second angle before applying it to glassware and diluents.
How Sterilization Methods Reach Zero Viable Microbes
Zero viable microorganisms isn't something you can see. A clear liquid looks identical before and after a cycle, and a glass bottle shows no trace of what it went through. Sterilization is therefore judged by a sterility assurance level agreed in advance and demonstrated by a validated cycle, with every run recorded. Appearance proves nothing, and neither does the length of time an item sat in a machine.
Sterilization methods, typical lab use and limits
| Method | Typical Lab Use | Key Limit |
|---|---|---|
| Autoclave (steam under pressure) | Culture media, glassware and sealed liquids that tolerate heat | Not suitable for heat-sensitive material |
| Dry heat | Heat-tolerant glassware and metal tools | Slower cycles; not suitable for most plastics |
| 0.22 µm membrane filtration | Heat-sensitive liquids and diluents | Does not remove endotoxin on its own |
| Gamma or electron-beam irradiation | Prepackaged single-use disposables | Requires a validated, qualified facility and process records |
| Ethylene oxide gas | Heat- and moisture-sensitive devices | Requires aeration to remove residues |
Choosing a method by what the item survives
The method follows the item, not the other way round. Glassware and sealed liquids that tolerate heat go into a steam cycle, where saturated steam under pressure does the work. Metal tools and heat-tolerant glass tolerate dry heat, at the cost of longer cycles and a hard stop on most plastics. Prepackaged disposables arrive sterile from irradiation, so the lab's job shifts from producing sterility to preserving the packaging seal until use. Devices that can't take heat or moisture go to ethylene oxide, which then needs aeration time to clear residues before anything touches the item.
Liquids that can't be heated are where the reasoning gets interesting, and where most of the misjudgement happens.
Why filtration earns extra suspicion
A 0.22 µm membrane is a physical barrier. Organisms larger than the pore rating are retained; the filtrate that passes through is only as sterile as the filter, the housing, the transfer line and the handling that follows. Every one of those is a chance for the downstream side to be recontaminated after the barrier did its job.
Two consequences follow. First, filtration doesn't remove endotoxin on its own, so a filter that delivers a sterile liquid doesn't deliver an endotoxin-free one. Second, a filter that has been autoclaved twenty times, seated badly or run at the wrong pressure gives no visible warning.
Herbilabs purifies its reconstitution solution through a 0.22 µm filtration process and fills it aseptically, which is the sequence to look for when a lab buys a sterile diluent instead of preparing one in house. Aseptic filling matters as much as the pore size, because the barrier only protects what comes after it.
Keep the cycle record with the item
Whichever route produced an item, the record carries its status. A sterilized load leaves a cycle printout or a batch entry; a purchased sterile vial leaves a lot number and a supplier certificate. The sterility test methods for QA teams that sit behind a release decision only mean something when they can be matched to the specific item in hand.
The practical check before any preparation: identify which method produced this item, then keep the cycle record or certificate attached to it for as long as the item is open on the bench.
What Sanitizing Achieves and Where It Stops
A surface that looks clean and smells of alcohol gets treated as sterile for the rest of the session. That assumption survives because nothing contradicts it visibly. Sanitizing is a controlled reduction: an agent is applied to a surface or tool, kept wet for the contact time stated on its label, and the result is accepted against a written protocol rather than tested to zero.
The CDC glossary of disinfection and sterilization terms separates the two controls precisely. Sterilization is intended to eliminate all forms of microbial life, while sanitization reduces contaminants to a level judged acceptable under a defined protocol and does not establish sterility. That single sentence settles most arguments about how a bench should be described.
Why contact time does more work than the wipe
The wipe spreads the agent and removes soil. The contact time kills. A surface sprayed and immediately dried has had seconds of action, and alcohol in particular evaporates fast enough that a thin film may be gone before the label time elapses.
- Alcohol at 70%: the standard wipe for work surfaces and container exteriors, applied and allowed to stay wet for the label time rather than flashed off.
- Bleach-based products: for benches and spills, mixed at the label dilution and used within the working window, because an old dilution is an unknown concentration.
- Quaternary ammonium products: for routine surface work where a longer residual action suits the schedule.
- Detergent first: soil and residue block an agent from reaching the surface, so cleaning precedes any disinfectant.
Strength can't be judged by colour or smell. A bleach solution that smells strongly may be past its useful window, and an alcohol wipe that smells right may have evaporated before it acted.
The distinction that keeps the record honest
FDA aseptic-processing guidance splits responsibilities along the same line. Sterile components, meaning product, container and closure, are brought together under controlled conditions. Nonsterile items and gloves are sanitized during manipulation. Operators work inside a contamination-controlled sequence rather than a sterile field.
Small labs adapt this without the validation resources of a large manufacturer, and the adaptation usually fails in one spot: the SOP records surface cleanliness in language that reads like sterility assurance. A sanitized glove, a sanitized bench and a sanitized hood are contamination-control steps. None of them makes the assembled preparation sterile.
A wipe does not make a vial sterile. It makes a vial's exterior cleaner.
Record four things for every sanitizing step and the ambiguity disappears: the agent, its concentration, the contact time it was held for, and the date it was applied. Those four fields are what a reviewer can check.
Deciding Sterile or Sanitized Status Element by Element
One procedure contains several elements, and they don't share a requirement. Asking whether "the bench" is sterile produces a meaningless answer. Asking what the diluent needs, what the septum needs, and what the surface beneath them needs produces three answers a reviewer can verify.
Sterile or sanitized requirement by element
| Element | Sterile Required | Sanitizing Acceptable | Evidence to Keep |
|---|---|---|---|
| Diluent or bulk liquid | Yes, from manufacture | No, unless filtered at point of use | Lot reference and certificate of analysis |
| Vial septum and stopper | Yes, before first puncture | Wipe only as an added step | Supplier certificate and wipe log |
| Working surface | No | Yes | Agent, concentration, contact time and date |
| Gloves | No | Yes, changed when contaminated | Glove type and change practice in the SOP |
| Pipette tips and tools | Yes, if pre-sterilized | Yes, if reused under a validated method | Packaging seal or sterilization log |
| Outer equipment | No | Yes | Cleaning schedule and sign-off |
The septum deserves its own paragraph because it's the most overlooked element on the list. It's the entry point for every withdrawal from a multi-use vial, it's handled with the same gloves that touch the bench, and it's rarely mentioned in a procedure beyond "swab the top". A septum supplied sterile stays sterile only until the first puncture, and a wipe before that puncture is an added precaution, not the source of its status. Where reusable glassware carries the liquid instead, the same logic applies to the container, and a sterile glass bottle buyer's guide covers what a certificate should state before purchase.
Scenario one, reconstituting lyophilised material in a bench hood
The wrong assumption sounds reasonable: everything inside a hood is sterile because the hood is a controlled space. The hood surface is sanitized, the gloves are sanitized, and neither is sterile at any point in the session.
The correct split for a reconstitution step reads like this. The diluent is sterile from manufacture, and its lot number goes into the record. The septum was sterile before the first puncture and gets wiped as an added step, not as the reason it's safe. The hood work surface is sanitized with a recorded agent and contact time. Gloves are sanitized and changed when contaminated. The first-puncture time is written on the vial label at the moment of access, and every later access is logged against it.
Scenario two, a small batch of working solution from bulk sterile water
Here the wrong assumption is that bulk sterile water stays sterile once the container is open, so nothing beyond a clean bench is needed. In practice the transfer decides the outcome.
The team has one genuine decision: whether a point-of-use 0.22 µm filtration step belongs in the transfer. If the answer is yes, the filter's integrity and its position in the line need recording. If the answer is no, the decision and its reasoning still get written down, because an undocumented decision looks identical to an oversight three months later. The record carries the source lot, the transfer method and the timing.
Scenario three, a QA reviewer reads a procedure that calls every item sterile
The wrong assumption is inherited rather than argued: the SOP says sterile in every row because it always has. The reviewer's job isn't to soften the language, it's to split it.
The revision produces two lists. Sterile items are the diluent, the septa as supplied, pre-sterilized tips and any sterilized glassware, each traceable to a certificate or a cycle record. Sanitized elements are the bench, the hood surface, gloves and outer equipment, each with an agent and a contact time. Nothing appears in both lists, and the batch record gains a column for the term that applies.
Write it beside the element, not at the top of the page: a single header saying "sterile technique" tells the reader nothing about which item carries which requirement.
Multi-Use Vials and the Preservative Trap
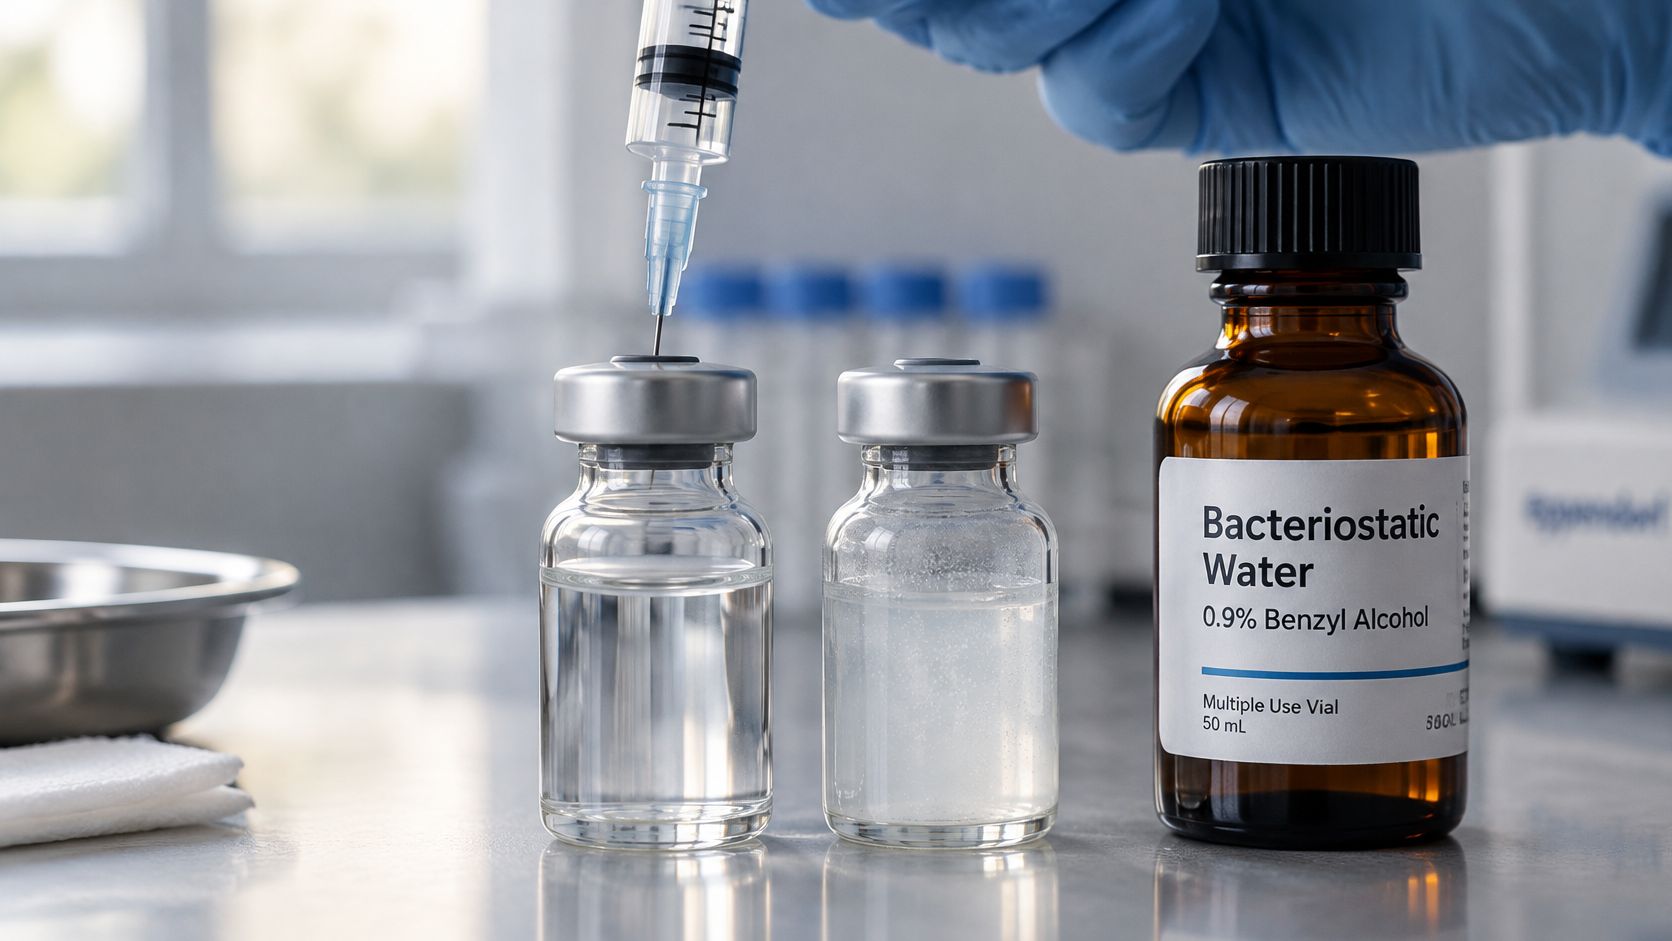
A preservative helps limit bacterial growth; it does not make a punctured vial sterile again. Keeping these roles distinct helps teams set a separate control for the vial, each access, and its storage.
Bacteriostatic water is sterile water containing 0.9% benzyl alcohol. Herbilabs' ready-to-use solution is for laboratory research only. The preservative inhibits bacterial growth, but it does not sterilize material introduced during non-aseptic access or restore the vial's original sterile status.
Each access is a new handling step. Clean the vial's exterior and septum as specified in the local procedure, and use aseptic technique to limit contamination during access. The vial's manufacturing status and the status of the work area are separate controls.
After the first puncture, the vial is a multi-use item whose continued suitability depends on aseptic handling at each access. Record the first-puncture date so the team can track its in-use period.
A 28-day in-use period after first puncture with proper aseptic handling is a common laboratory convention, not a universal guarantee. A local SOP should state whether and how the team applies that convention.
Storage is another control. Keep the vial at 15–25 °C, away from extreme temperatures and protected from contamination. Record any storage deviation in line with the lab's procedure.
For handling guidance on bacteriostatic water, see the procedures for access technique and contamination control.
SOP distinction: the vial is supplied sterile; after puncture, continued suitability depends on aseptic access and the lab's in-use procedure.
Confirm the Right Term for Each Step Before You Work
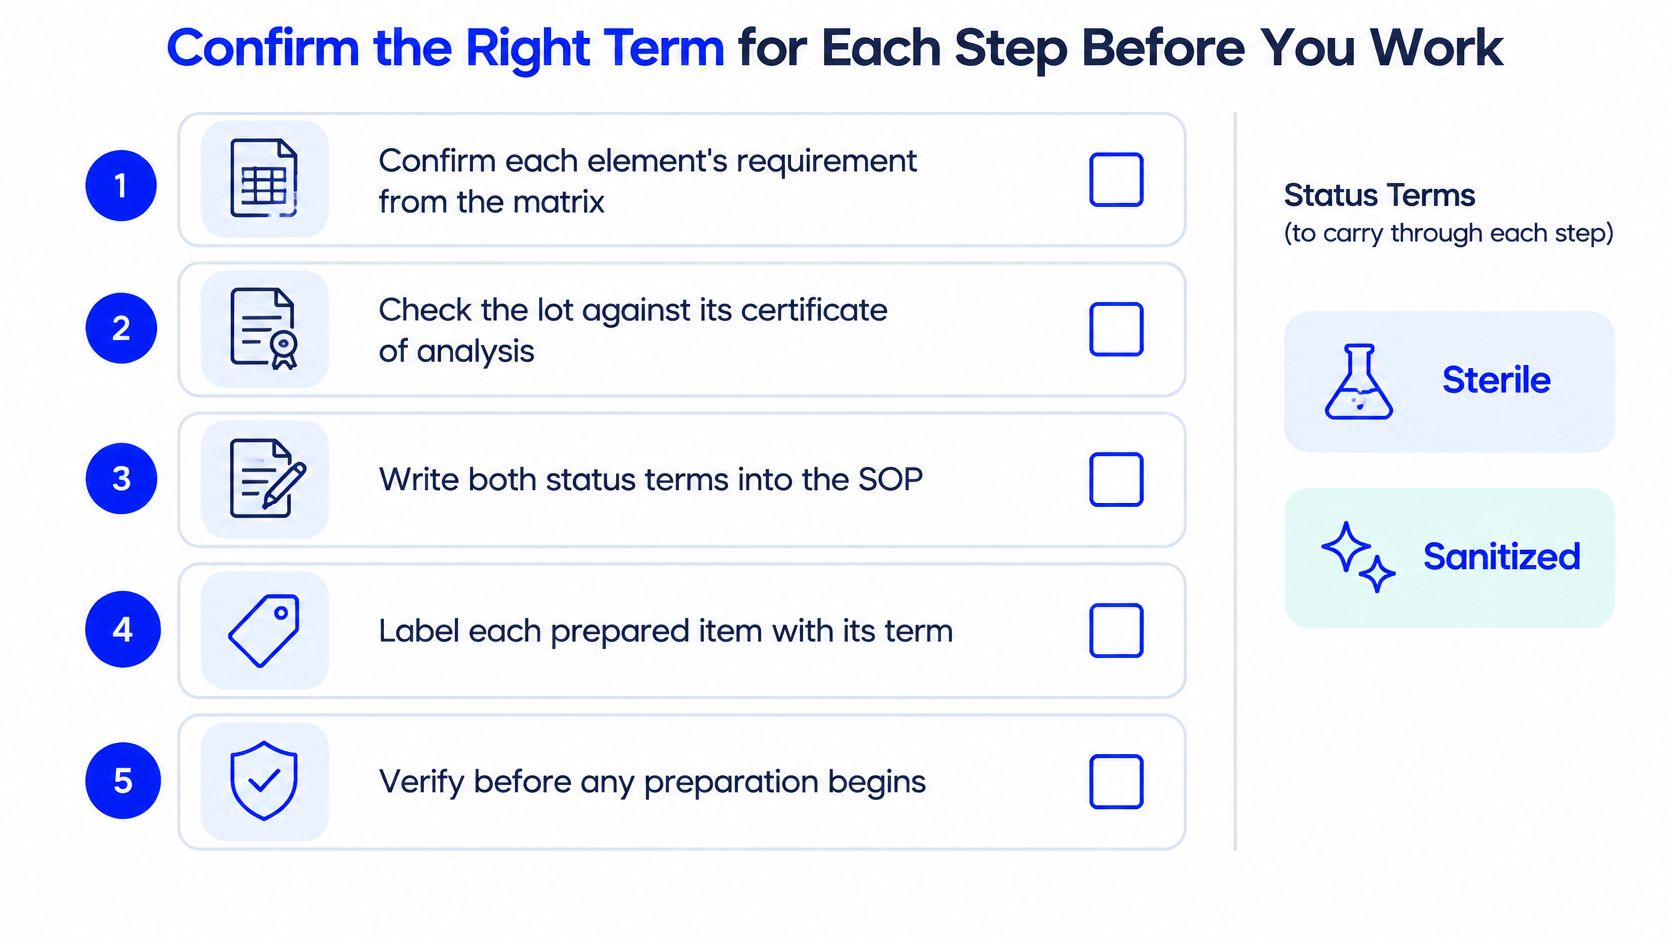
The decision happens before the first glove goes on. Confirm each element's requirement against the matrix, match the lot on the vial to its certificate, then write both status terms into the SOP and the batch record. Doing this afterwards turns documentation into reconstruction, and reconstructed records always have holes.
The checklist below is the order that survives a QA review, because it fixes the terms before any material is opened.
Documentation fields for sterile and sanitized steps
| Record Field | What to Write | Example Entry |
|---|---|---|
| Item status | State sterile or sanitized for each element | Diluent vial recorded as sterile, with lot reference |
| Method or agent | Name the sterilization method or sanitizing agent | Autoclave cycle record for reusable tools; 70% isopropyl alcohol for the bench |
| Contact time | Minutes the agent stayed wet, as set by its label | Full label contact time recorded |
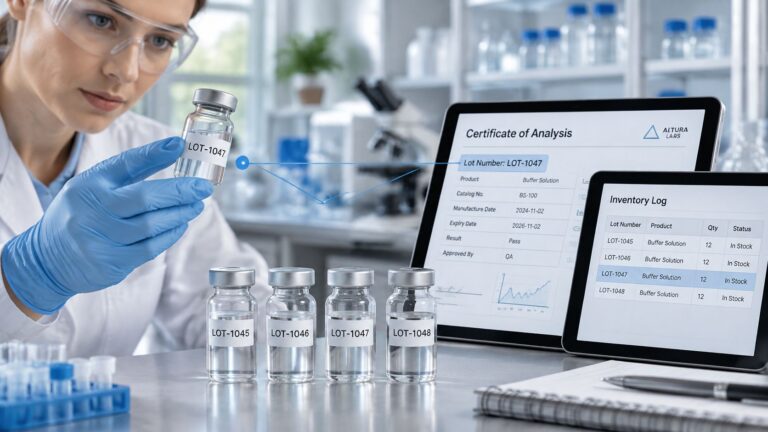
| Lot number | Lot printed on the vial, matched to its certificate | Lot checked against the certificate of analysis |
| First puncture | Date and time of first puncture on the vial | Date and time written on the vial label |
| Deviation | What changed, when, and who approved the action | Vial dropped and discarded, noted in the batch record |
The sequence that produces an auditable record:
- Read the element matrix for the step and note which items carry a sterile requirement.
- Match the lot printed on the vial to its certificate of analysis before opening anything.
- Record the status term and the method or agent beside each element.
- Write the first-puncture date and time on the vial label at the moment of access.
- Log any deviation as it happens, while the timeline is still accurate.
A deviation entry states three things and stops: what changed, when it changed, and who approved the action. Surface cleanliness is never written as sterility. A bench that was wiped is recorded as sanitized, with its agent and contact time, because a reviewer can't distinguish careful work from optimistic wording once the session is over.
Before the next batch, ask: does every row in this record name a term a reviewer could defend?
Two checks close the loop. Read the lot's certificate of analysis against the vial in hand, and confirm storage sits within 15-25 C. All products are strictly intended for laboratory research purposes and are not designed, tested, or approved for human consumption, therapeutic, diagnostic, or clinical use, so the terms sterile and sanitized in a Herbilabs record describe laboratory materials and nothing beyond that scope.
Sterile and sanitized describe two different controls, and the work goes faster once each element carries the right one. Herbilabs supplies a sterile, non-pyrogenic diluent in multi-use glass vials, with a certificate of analysis for every lot and the 10 mL vial plus the 10 x 10 mL kit in stock for laboratory research use. Confirm the term for each element of the procedure, then visit Herbilabs to match the lot in hand to its documentation before the first puncture.