Private Label, White Label, Wholesale partnerships available - EU, USA and UK - Free shipping from €75

Sterile Glass Bottles for Labs: A Practical Buyer’s Guide
A preparation is ready, the bench is clear, and the only thing left is to draw the diluent. That's the moment when most labs find out whether their vial and closure are doing the job the label promised.
There's no drama in a good sterile glass bottle. It sits in the rack, the septum holds, the date goes on the label, and the work continues. Problems surface later, in a contaminated plate, a batch record with a gap, or an audit question about who opened vial number four and when.
Most of those failures trace back to something a buyer could have caught before the order, or a handler could have logged after it. The glass, the stopper, the crimp, the sterilization route and the storage window are five separate decisions, each with its own check. Get them in the right order and daily work gets simpler. Skip one and no amount of visual inspection will tell you what went wrong.
Table of Contents
- What Sterile Glass Bottles Are and Why Labs Use Them
- Glass Types and Bottle Formats Compared
- Closures and Seals That Keep Bottles Sterile
- Sterilization Methods and What Each One Proves
- Filtration and Aseptic Filling at Lab Scale
- Storing Opened Vials and Bacteriostatic Water Safely
- Confirm the Bottle Spec Before You Order
What Sterile Glass Bottles Are and Why Labs Use Them
A shipment of diluent vials lands on the receiving bench and every bottle looks flawless. Whether the contents stay sterile, though, depends on the stopper, the crimp and what happens after the first needle puncture, none of which a glance at the glass can confirm.
A sterile glass bottle is a glass container supplied clean, closed and sterile for laboratory research. That separates it from ordinary lab glassware, which arrives as a vessel to be washed, filled and autoclaved on the bench. A sterile vial arrives with three things already in place: a defined sterility state, a defined closure, and a lot number to trace it back.
Glass is the dominant container material for sterile vials, and the reasons are practical rather than cosmetic. It resists chemical interaction with aqueous contents, tolerates heat-based sterilization, and keeps standardised dimensions so racks, caps, crimps and filling equipment fit without adaptation.
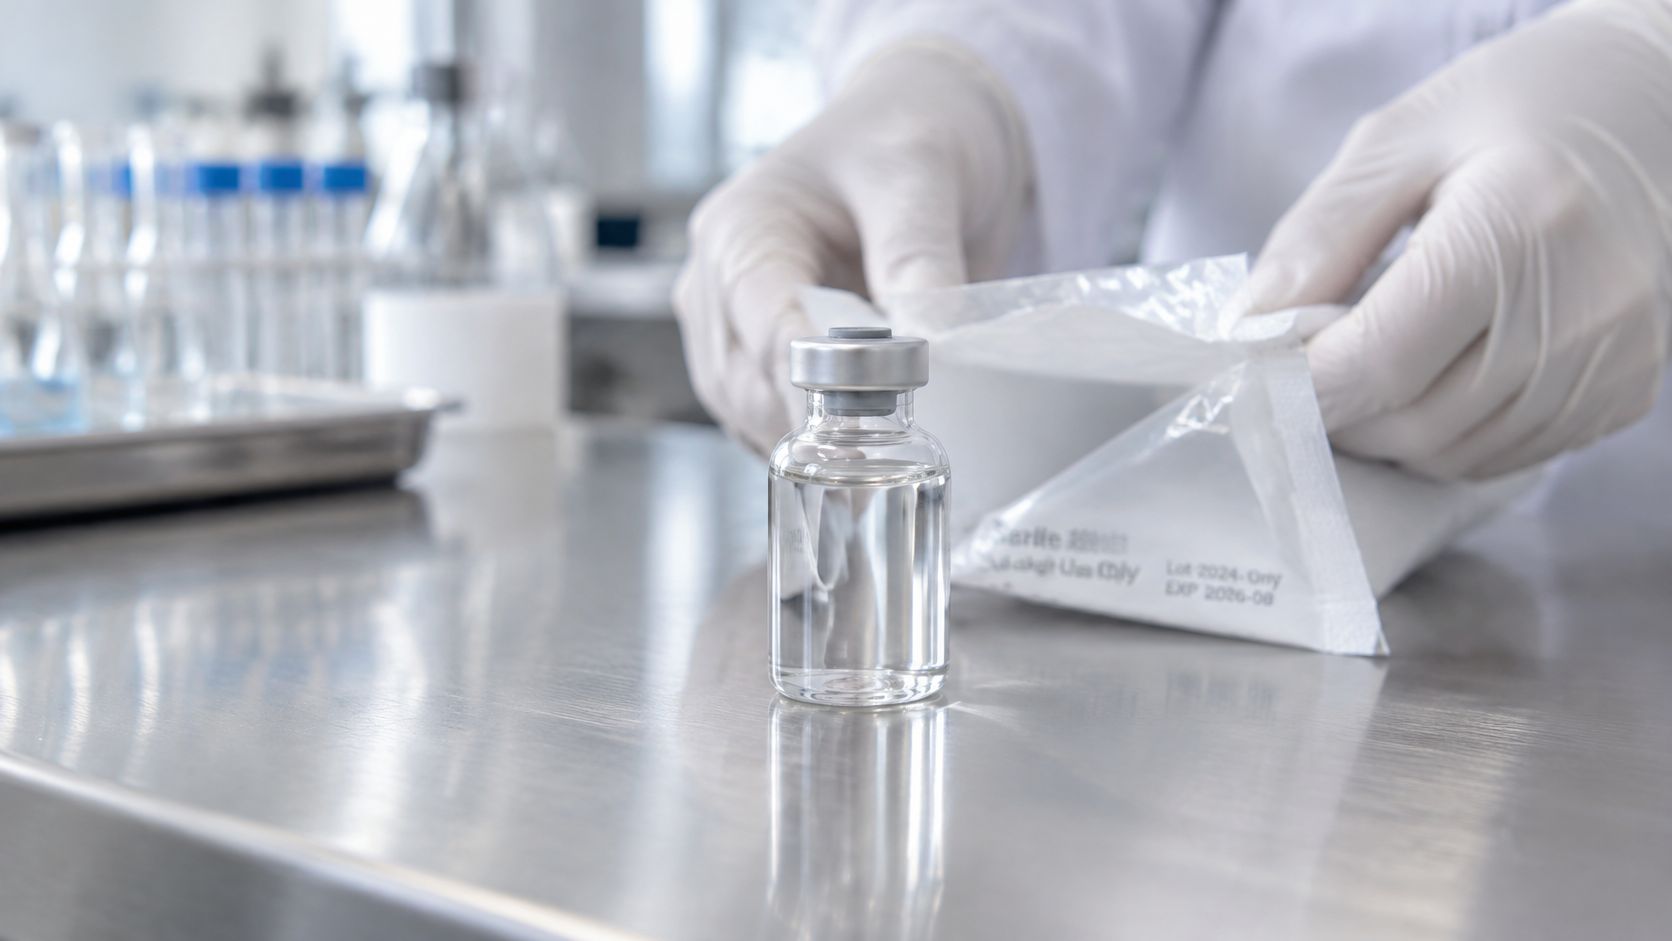
Three families cover most lab work: molded vials formed in a mold, tubular vials cut from glass tube to standardised formats, and multi-use vials with septum closures built for repeated withdrawals. The third family shows why a bottle is never judged on glass alone. A septum vial works like a chain: the stopper has to reseal after each puncture, the crimp has to hold it under pressure, and the handler has to log the first-puncture date. The glass is only one link.
All of them carry the same boundary. Products sold as laboratory reagents are for research use only and are not designed, tested or approved for human consumption, therapeutic, diagnostic or clinical use.
Glass Types and Bottle Formats Compared
Glass selection starts with four properties, not with a catalogue photo: how the glass resists the contents, how it behaves under heat, how consistently it's dimensioned, and what the supplier can document about it.
| Glass type or format | Typical research use | Main strength | Watch-out |
|---|---|---|---|
| Type I borosilicate (clear) | Aqueous materials needing high stability | Strong chemical resistance and heat tolerance | Qualify each supplier and sterilization cycle |
| Type II treated soda-lime | General laboratory storage | Surface treatment improves durability | Less chemically resistant than Type I; confirm the specification |
| Type III soda-lime | Low-risk general storage | Lower cost | Not preferred where long-term aqueous stability matters |
| Molded open-top vial | Automated filling workflows | Uniform dimensions for fill equipment | Confirm the neck finish matches the closure |
| Tubular vial | Small-volume preparation | Lower cost per piece | Check edge quality and particulate results |
Each row answers a different question, and the reason matters more than the label. Type I borosilicate limits interaction with aqueous contents and survives heat cycles, which is why it's the default where stability can't be compromised. Type II is soda-lime glass with a surface treatment, so the durability lives in the treated layer and the specification has to say what was done. Type III keeps cost down for short-term storage of contents that aren't sensitive.
The format matters just as much. Molded vials give flexibility across sizes, and the mold sets the neck dimensions that a closure has to match. Tubular vials are cut from tube to standardised formats, so wall dimensions stay consistent piece to piece, which helps small volumes and automated handling.
Reading a Glass Specification
Clear glass looks identical across the bench, and that's the trap. Two vials of the same nominal volume can differ in chemical resistance, extractables, particulate shedding and sterilization history.
The FDA's guidance on CGMP requirements for components and drug product containers notes that terminal sterilization can significantly affect glass stability, and that glass vials may under certain conditions shed thin flexible fragments known as glass lamellae. The consequence is practical: a specific vial design and supplier process get qualified, rather than assumed equivalent because the glass is clear.
Four documents settle most of it before a lot is accepted: the compendial glass type, a dimensional drawing, the closure compatibility statement, and the sterilization method with its record. Add visible-defect and particulate inspection results and the file is usable.
Compatibility is formulation-dependent as well as glass-dependent. pH, ionic strength, temperature, contact time and repeated puncture all change how the surface behaves, so a documented chemical-resistance assessment and a risk-based extractables and leachables review beat appearance every time. When a supplier or a sterilization cycle changes, treat it as a packaging qualification event: compare dimensions, stopper fit, crimp performance, visible and subvisible particulate results, and container-closure integrity before the new lot enters routine work.
Closures and Seals That Keep Bottles Sterile
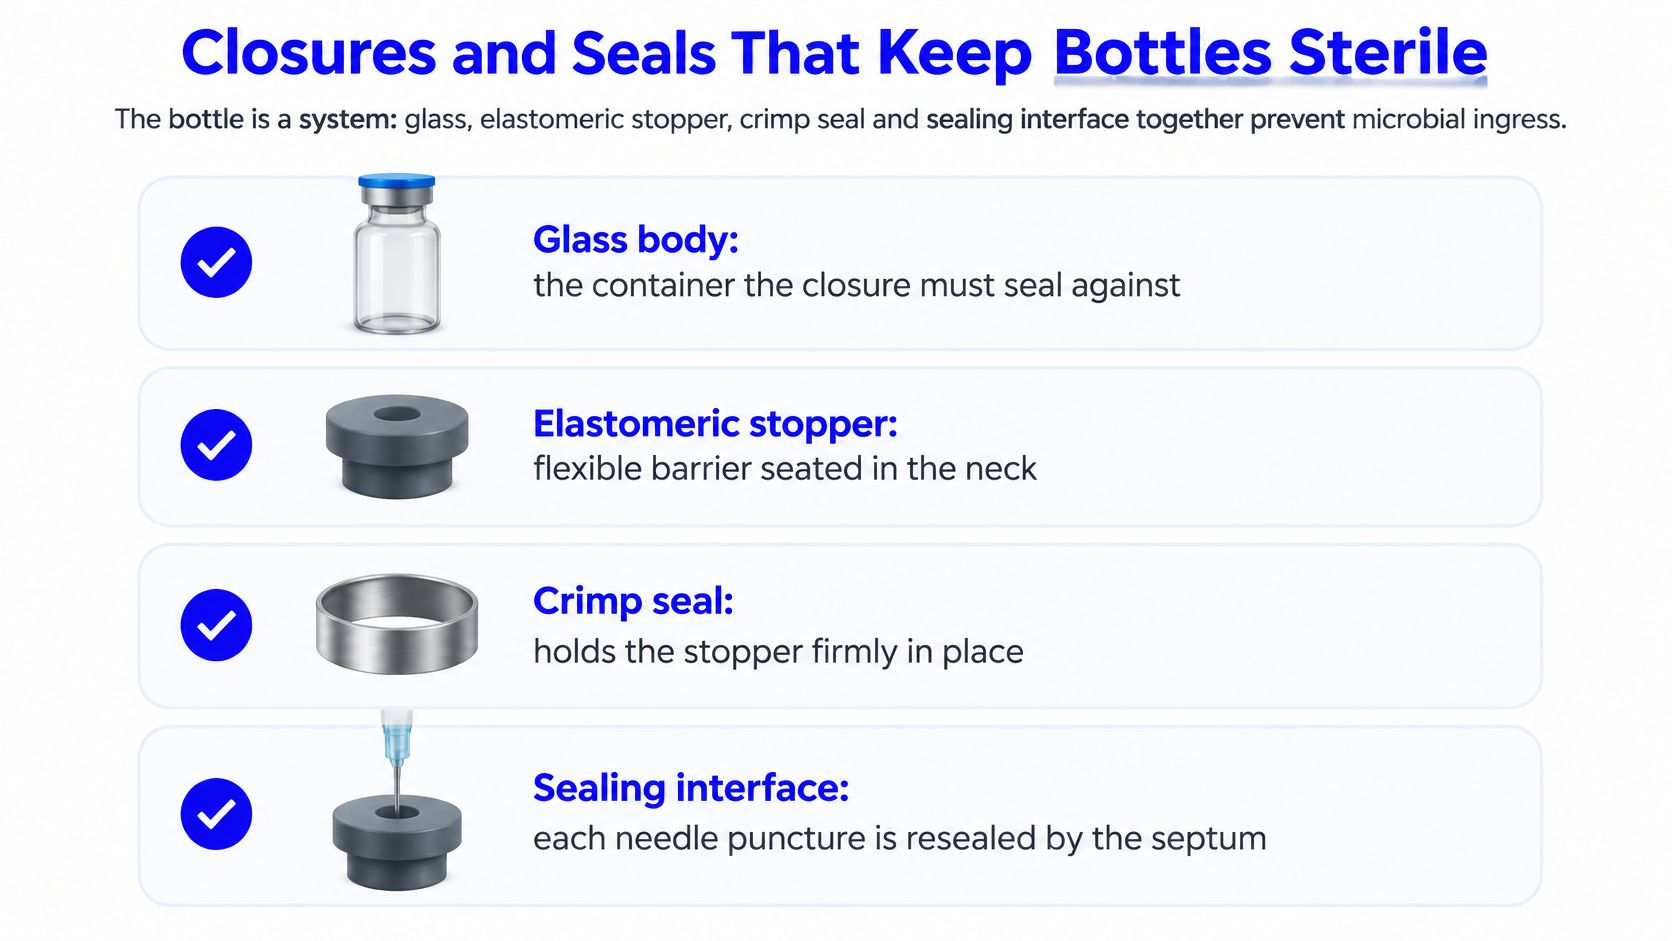
The glass is the part everyone inspects and rarely the part that fails first. A sterile glass bottle works like a pressure vessel: the wall can be flawless and the system still leaks at the gasket. On a vial, the gasket is the whole container-closure system, meaning the glass, the elastomeric stopper, the crimp seal and the sealing interface between them. Each part has to keep microorganisms out through storage, transport and handling, so a scratch on the sealing rim counts as much as a crack in the wall.
The FDA sets the bar plainly. A container-closure system that permits microorganism penetration is unsuitable for sterile products, and damaged or defective units should be detected and removed during final inspection, according to the agency's container and closure system integrity testing guidance.
The Arrival Check, Point by Point
Six checks catch most of what arrives damaged:
- Rim and body. Look for chips, star cracks and scratches on the sealing surface, because a chip under the stopper is a leak path.
- Neck. Tilt the vial to the light and check for hairlines where mechanical stress concentrates.
- Stopper seating. The stopper should sit flat and centred, with no tears, cuts or lifting at the flange.
- Crimp. The aluminium seal should be firm, even and fully engaged, not loose or tilted.
- Flip-off cap. Confirm the plastic cap and its seal are intact, with no rotation or lifting.
- Label. Lot number, fill volume and storage condition should be legible, because an unreadable lot number is an untraceable vial.
Practical rule: Visual inspection clears a lot for ordinary use. It doesn't clear a package for high-risk work. Only a validated container-closure-integrity method does that.
Passing all six checks still leaves one question open: how the closure behaves after first puncture. A multi-use septum closure adds a failure mode no arrival check can see. Every needle withdrawal is a handling event, and after each one the stopper has to reseal over the puncture track while the crimp maintains even compression around the flange. A vial can hold sterile contents on day one and lose that barrier by the end of a week of withdrawals, with the glass still intact.
The FDA recognises validated integrity testing as a scientifically accepted way to detect breaches, and the guidance linked above describes repeating it at defined stability intervals. A visually clean vial can still fail an integrity test, which is why the lot inspection record belongs in the quality file rather than the bin.
Log four things per lot: part numbers for vial, stopper and seal; the inspection result with initials; the sterilization record reference; and any deviation, including vials pulled from the box before use. Those four lines make the visual check traceable, so a rejected vial can be tied back to its lot and a recurring defect shows up in the pattern rather than in a single bad week.
Sterilization Methods and What Each One Proves
Every sterilization method answers a different question, and a supplier's certificate only means something if you know which question it answers.
| Method | What it addresses | Validation to request |
|---|---|---|
| Dry heat | Microbial sterility and endotoxin reduction for glass containers | Heat distribution and penetration studies, worst-case cycle, endotoxin reduction of at least 3 logs |
| Steam sterilization | Microbial sterility for heat-tolerant items | Cycle parameters and load mapping records |
| Membrane filtration, 0.22 µm | Microbes removed from liquids before filling | Filter integrity test and aseptic fill record |
Dry heat is the method built for glass. FDA guidance on sterilization process validation identifies it as a process that can accomplish both sterilization and depyrogenation of glass containers, and sets out what validation needs: heat-distribution and heat-penetration studies, worst-case process cycles, container characteristics such as mass, and loading configurations that represent actual production runs.
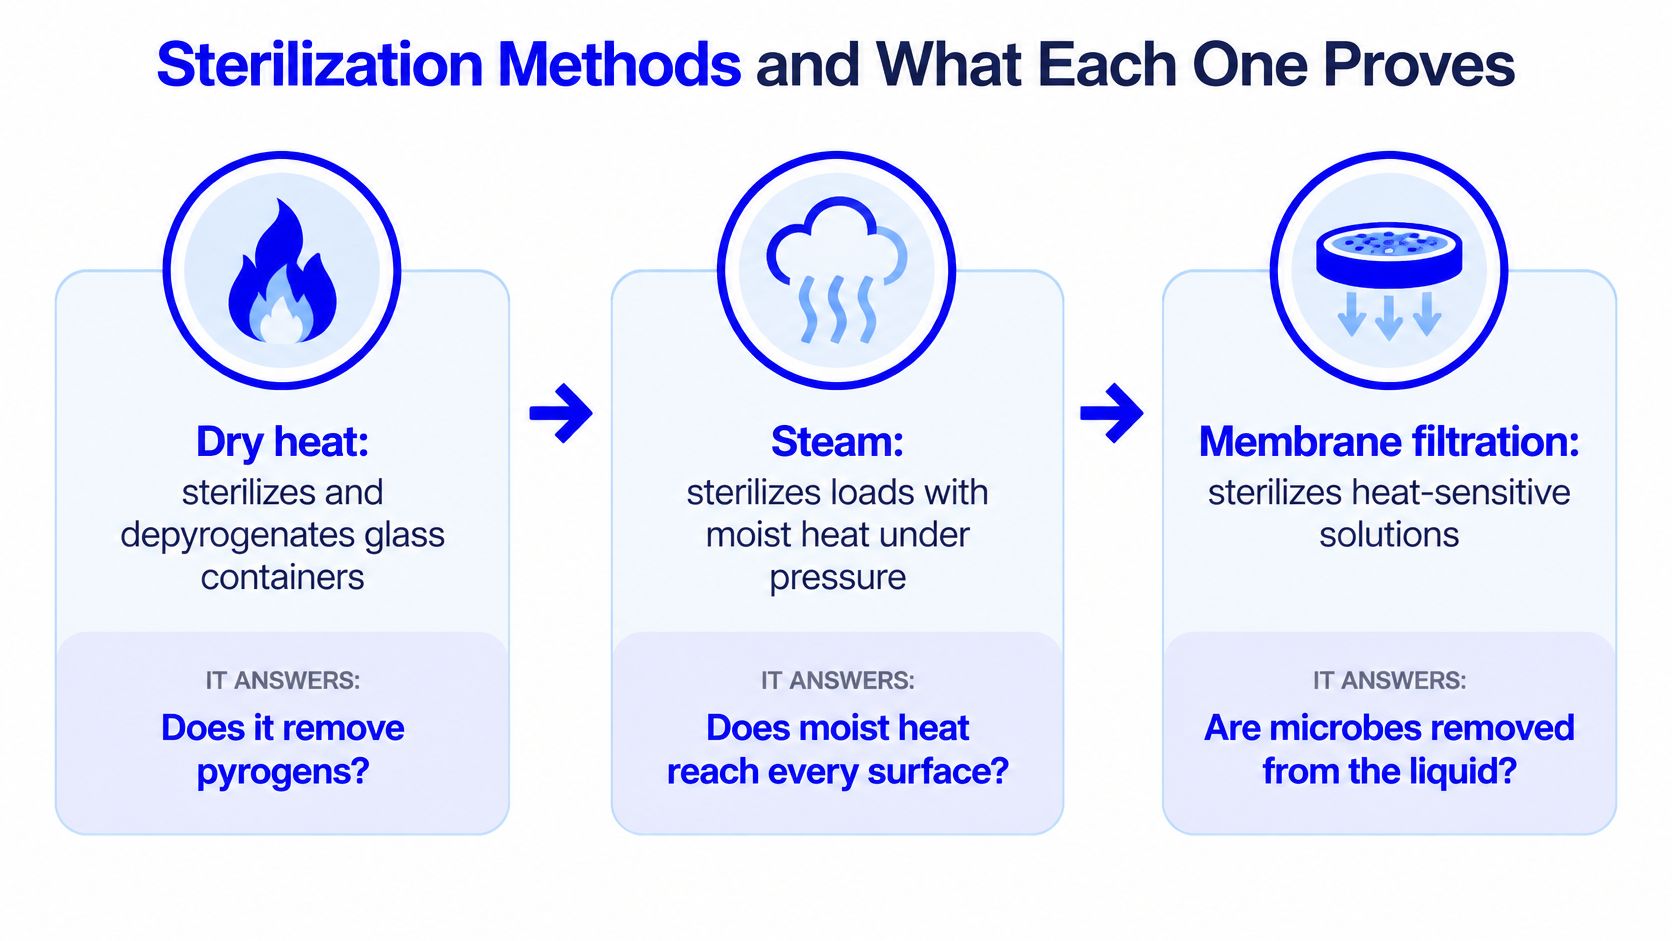
The depyrogenation half is where buyers get caught out. Endotoxin-depyrogenation validation should demonstrate at least a 99.9% reduction, equivalent to a 3-log reduction, using spiked containers or closures, suitable recovery measurements and positive controls. A container can need both microbial sterilization and a validated endotoxin process, and those are two separate records.
Steam suits heat-tolerant items and is proven through cycle parameters and load mapping. Membrane filtration at 0.22 µm clears the liquid before filling, but it doesn't sterilize the bottle, the stopper or the air in the room.
From Receipt to Fill, in Six Steps
- Receive and check the certificate. Match lot number, glass type and fill volume to the purchase specification before the box goes into storage.
- Verify the sterilization record. A certificate naming the method but not the cycle parameters doesn't show the process was validated for your container, and documenting sterility checks in batch records keeps that proof retrievable.
- Confirm depyrogenation for endotoxin-sensitive work. Ask for the reduction data, not a tick box.
- Filter the liquid at 0.22 µm. Filtration handles the solution, not the glass.
- Fill in a controlled area. Uncontrolled air undoes a validated cycle in seconds.
- Close, label and record. Crimp integrity and lot traceability belong in the same record set as the sterilization data.
Three questions settle a supplier conversation faster than a spec sheet: which method was used, what was the validated worst-case load, and which document covers endotoxin reduction if the material is sensitive to it.
A sterilization record describes what happened to a container. It says nothing about what happens once that container is opened.
Filtration and Aseptic Filling at Lab Scale
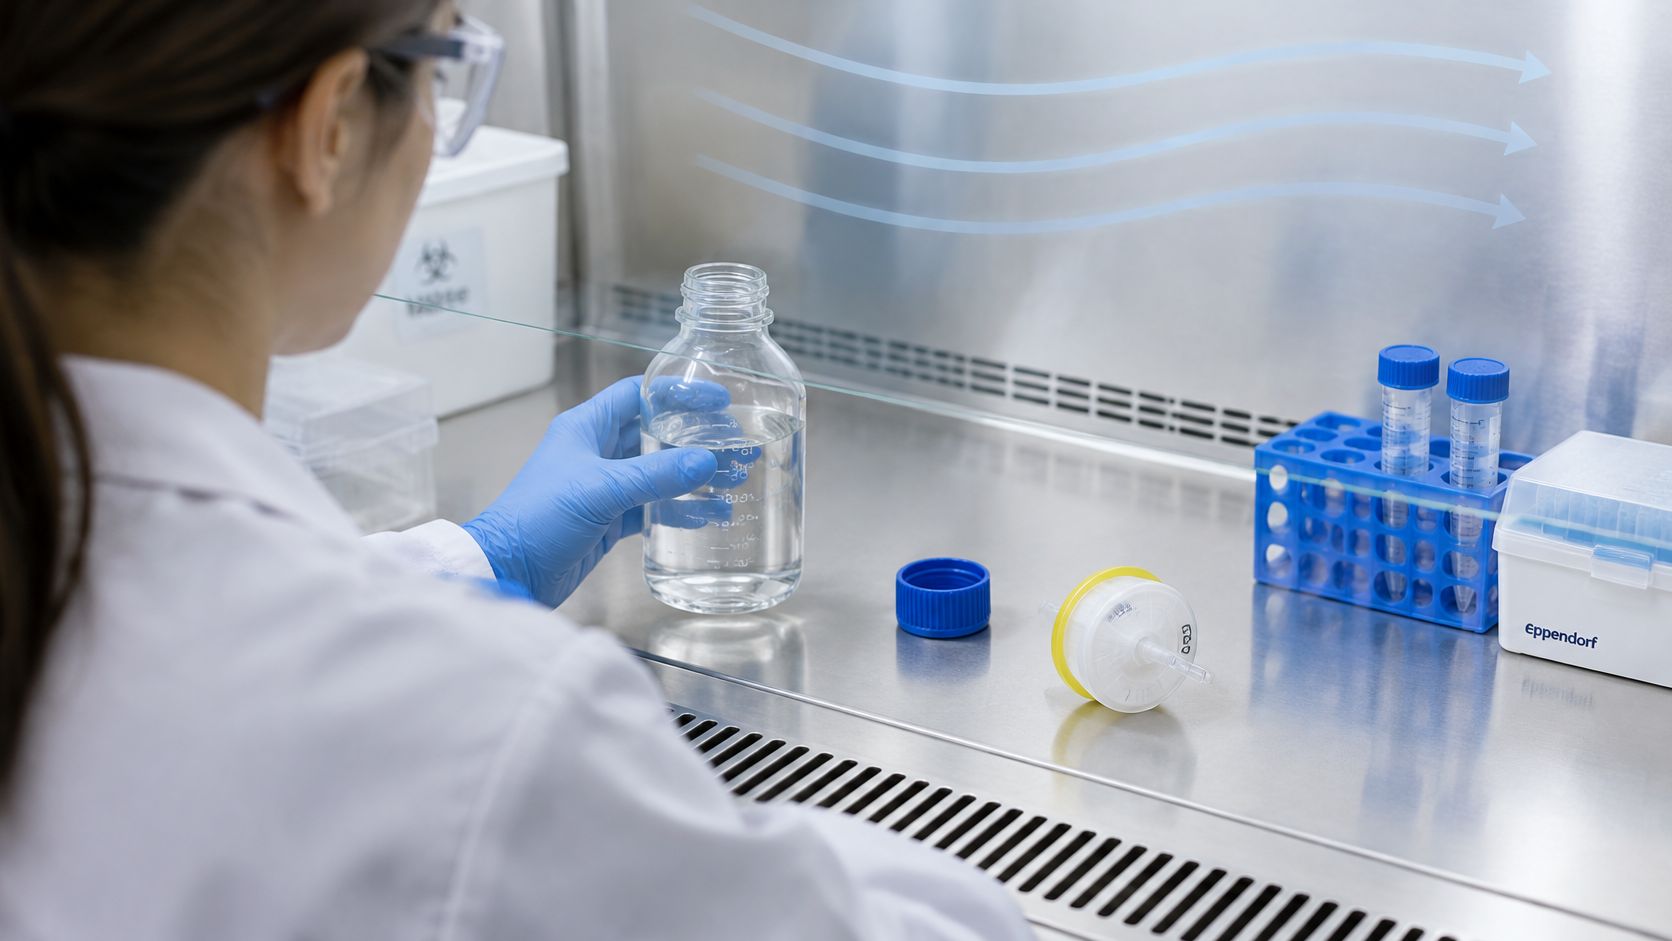
A 0.22 µm membrane can deliver a sterile solution and the room can still contaminate it during the fill. Filtration and filling are two halves of one job: the filter clears the liquid, and aseptic handling protects the open container while it receives that liquid. Break either half and the other can't compensate.
A 0.22 µm membrane filter works like a sieve with pores too small for microbes to pass. What comes out the far side is sterile. What it lands in is only as clean as the glass, the stopper and the air above the bench, which is why the membrane belongs to a chain that includes the closure and the hands around it. Anyone learning about sterilizing liquids with 0.22 micron filters usually hears the filter side first and the handling side later, and for practical work that order is backwards.
The Bench Routine
- Clear the surface first. Work in an uncluttered area with only what the draw needs, because every extra object collects particles and every reach across the bench disturbs the air above the work.
- Wipe the stopper with 70% isopropyl alcohol and let it dry. Puncturing a wet septum can carry alcohol through the hole and into the vial.
- Use a sterile needle or syringe for each draw. A needle that has touched a rack, a glove or a bench is no longer sterile, whatever it looks like.
- Never leave a needle in the stopper. An open channel defeats the septum, and a knocked needle tears it.
- Never touch the inside of a closure or the needle. Glove surfaces are the most common contamination source in an otherwise clean routine.
When contamination keeps appearing despite careful technique, the workspace itself is the limiting factor rather than the operator, and it's worth taking time to compare flow hood prices before retraining someone on a routine that was never the problem.
For a walkthrough of the handling side of aseptic work, this video covers the practical sequence at the bench:
A lab splitting one prepared solution into ten vials creates ten labels, ten first-puncture dates and ten recorded openings, each vial running on its own schedule. Opening a fresh vial for every preparation keeps every opened vial inside its in-use period, which suits labs making many small preparations rather than one large one.
Discard on sight if the liquid turns cloudy, if particles appear that weren't there at the start, or if the odour changes. The same goes for a torn septum or a crimp that no longer holds, because a sterile fill inside a compromised closure stops being a sterile container. None of those signs reverses, and none of them is worth a second opinion from the bench.
Storing Opened Vials and Bacteriostatic Water Safely
Two clocks start on a vial, and only one of them is printed on the label.
The printed one is the manufacturer's expiry date. The second starts at the first puncture of the septum, and it's the one labs lose track of.
Bacteriostatic water is a multi-use diluent containing 0.9% benzyl alcohol, a preservative that inhibits bacterial growth and allows repeated withdrawals from a single vial. That's the difference between a container you can draw from all week and one you open once.
The 28-Day Rule and the Expiry Rule Are Not the Same
A multi-use vial should be dated at first puncture and discarded within 28 days after first puncture when aseptic handling is used, unless the labelled in-use period is shorter.
The expiry rule doesn't move. An opened vial is never used past its manufacturer-labelled expiry date, even if the 28 days haven't run. A vial is also discarded whenever sterility is compromised or can't be confirmed, which puts opening dates and handling records inside the quality system rather than on a scrap of tape.
| Property | Bacteriostatic water | Sterile water |
|---|---|---|
| Preservative | 0.9% benzyl alcohol | None |
| Best fit | Repeated withdrawals where the protocol allows benzyl alcohol | Work where any added agent could interfere |
That table settles most diluent arguments. Sterile water fits work where an added preservative could interfere with the material or the assay. Bacteriostatic water fits a protocol with repeated withdrawals that permits benzyl alcohol.
A Routine an Auditor Can Follow
- Date and initial at first puncture. Write both on the label before the first draw, not at the end of the week.
- Store in the labelled condition. Refrigeration doesn't rescue a vial past its window; cold slows growth, it doesn't restore a sterile state. Where a unit is being specified, teams can compare lab-grade refrigeration units against the temperature range in their documentation.
- Record each withdrawal. One line per draw, tied to the preparation, so a batch record can be reconstructed later.
- Discard at the end of the window, or at the first sign of compromise. Whichever arrives first.
Auditors look for the gap, not the paperwork. Say three vials come out of the fridge and only one carries a date. The finding isn't that a date was missed; it's that the lab can't show when the other two left their controlled state. An initialled label closes that finding instantly.
Unopened vials keep their labelled storage condition and their printed expiry. The beyond-use clock starts only at first puncture and never extends the manufacturer's date.
Confirm the Bottle Spec Before You Order
A sterile glass bottle works as one system, so the spec has to be read as one system. Six checks turn the earlier decisions into an order line.
- Match glass to material. Type I borosilicate for sensitive aqueous work, and a lower grade only where the contents and the holding time justify it.
- Confirm closure and crimp fit. Neck finish, stopper size and seal diameter have to agree, and the arrival checks are the first place a mismatch shows.
- Choose the sterilization route and request its validation summary. The method has to match the container and the load you'll run.
- Confirm filtration and filling for any liquid. A validated cycle on the glass doesn't survive an uncontrolled fill.
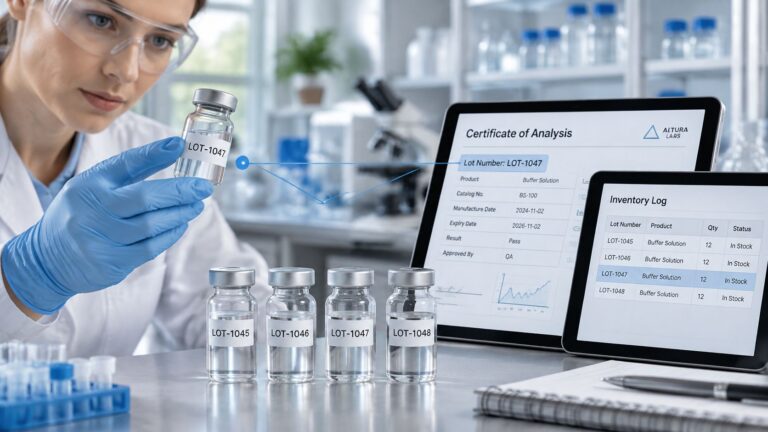
- Request the certificate of analysis for each lot and check it against the SOP. If the COA parameters and your acceptance criteria don't line up, one of them is out of date.
- Set up first-puncture tracking for every multi-use vial. The label is the record.
Read the list as a chain, not as six separate questions. A strong stopper on the wrong neck finish is a failed closure. A correctly filtered solution in an unvalidated fill is an unverified vial. Each check protects the ones next to it, which is why the cheapest vial on the page is only cheaper if it passes all six.
Herbilabs supplies bacteriostatic water with 0.9% benzyl alcohol, sterile and non-pyrogenic, filtered at 0.22 µm and aseptically filled in premium glass vials labelled for research use only and not for human consumption, therapeutic, diagnostic or clinical use. A certificate of analysis is published for each lot.
Herbilabs supplies sterile bacteriostatic water in premium glass vials for laboratory research, with a certificate of analysis published for every lot. If this guide changed how you judge a vial, judge the next order the same way: glass type, closure, sterilization record and a date on the label. Visit Herbilabs to see current vial sizes, multi-vial packs and lot documentation.