Private Label, White Label, Wholesale partnerships available - EU, USA and UK - Free shipping from €75

Concentration Rules Explained for Lab Reconstitution
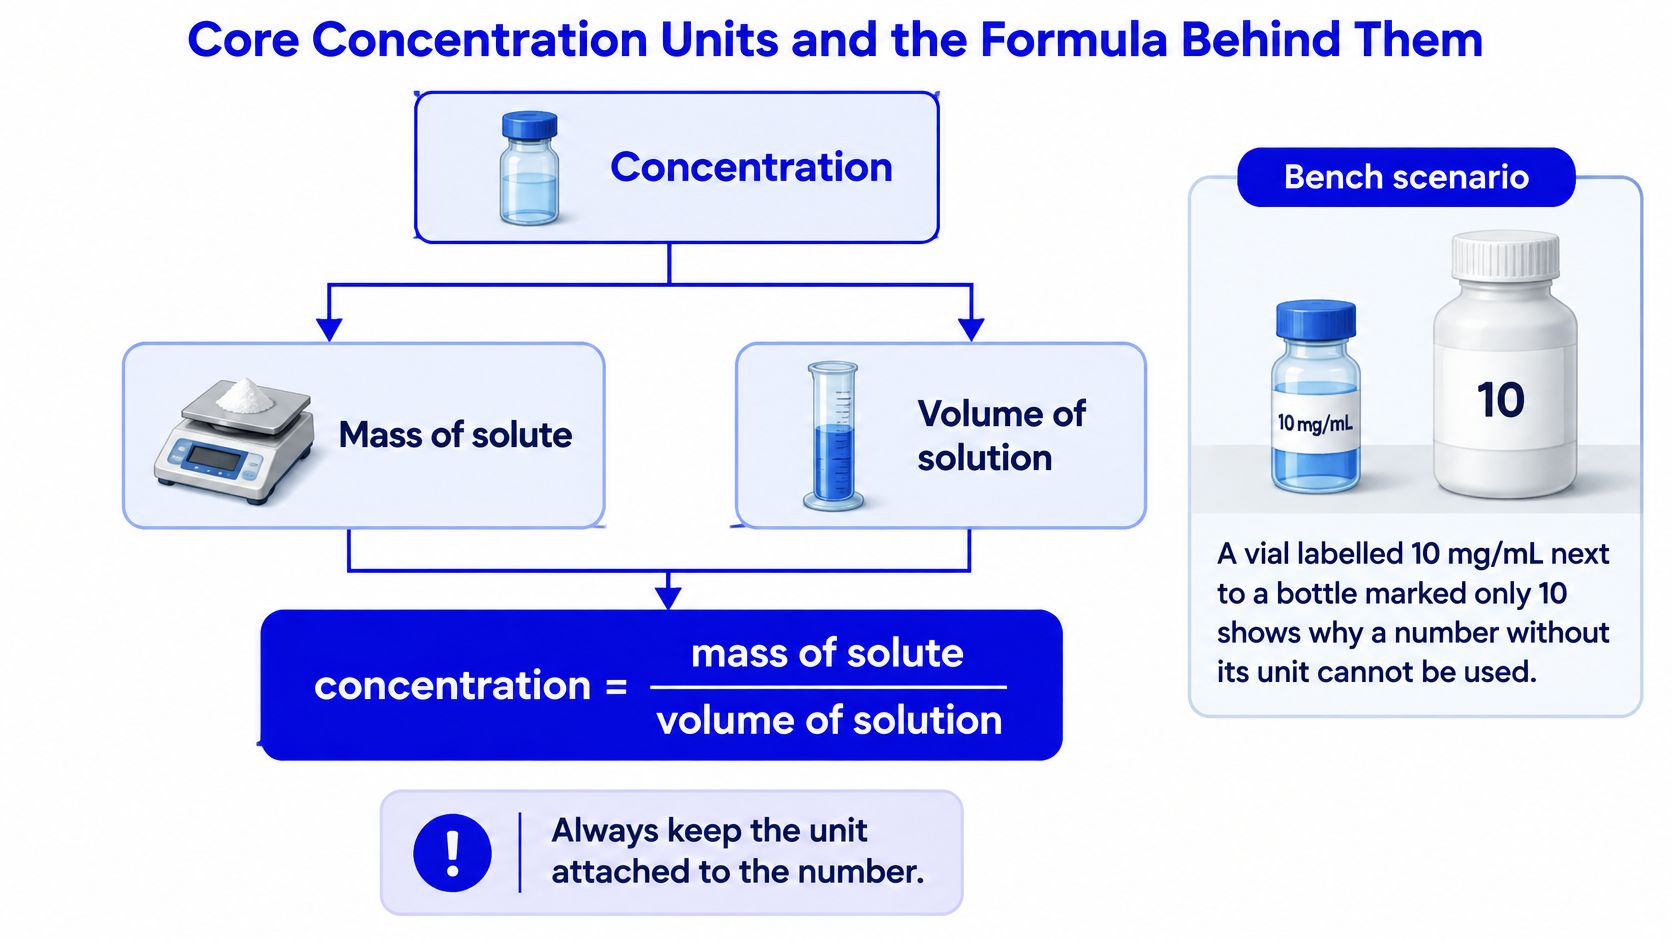
A vial labelled 10 mg/mL sits beside a bottle marked only 10. A preparation worksheet is open, the target volume is known, and the next calculation looks simple. Yet the unlabelled number can't tell a researcher whether it describes mass, volume, concentration, or the contents of the whole container.
Reliable concentration rules begin with that distinction. The arithmetic gives a result; the units, assumptions, and preparation records establish whether another person can reproduce it.
Table of Contents
- Core Concentration Units and the Formula Behind Them
- Assumptions That Change Your Concentration Result
- Working Out Volumes with C1V1 Dilution Rules
- How to Reconstitute a Lyophilised Material Step by Step
- Recording Calculations for Audit and Traceability
- Checking Results and Correcting Errors
Core Concentration Units and the Formula Behind Them
Concentration describes the mass of dissolved solute per volume of solution when expressed as a mass concentration. Its basic relationship is:
C = m ÷ V
Here, C is concentration, m is solute mass, and V is the final solution volume. For a hypothetical preparation containing 10 mg of material in a final volume of 2 mL, the concentration is 10 mg ÷ 2 mL = 5 mg/mL.
The same spoon of sugar produces a sweeter cup than pot because the amount of sugar is spread through a different volume. Laboratory calculations use the same relationship, but require defined units rather than a visual estimate.
Reading the unit before calculating
Mass-per-volume units describe how much material occupies a defined solution volume. Percentage units need an additional distinction: whether the numerator describes a mass or a liquid volume.
Concentration units, meanings and conversions
| Unit | Meaning | Conversion |
|---|---|---|
| mg/mL | Milligrams of solute per millilitre of solution | 1 mg/mL = 1,000 µg/mL = 1 g/L |
| µg/mL | Micrograms of solute per millilitre of solution | 1 µg/mL = 0.001 mg/mL |
| % w/v | Grams of solute per 100 mL of final solution | 1% w/v = 10 mg/mL |
| % v/v | Millilitres of liquid solute per 100 mL of final solution | 1% v/v = 10 µL per mL |
| Molarity (M) | Moles of solute per litre of solution | mg/mL ÷ molar mass (g/mol) = mol/L |
| ppm | Parts per million; approximately mg per litre in dilute aqueous solution | 1 ppm ≈ 1 mg/L for a dilute aqueous solution with density close to 1 kg/L |
Percentage by volume applies to liquid solutes, not a weighed solid. Both percentage conventions refer to the final solution, rather than the solvent added.
Molarity counts chemical amount instead of mass, so the calculation requires the molar mass for the actual material form from its certificate or supplier data sheet. The mg/mL conversion works because mg/mL and g/L have the same numerical value.
Practical rule: Every recorded number needs its unit and its scope: whole-vial content, solution concentration, or amount per draw.
An amount per draw is a mass obtained from a specified withdrawn volume. It isn't interchangeable with the concentration of the solution remaining in the vial.
Assumptions That Change Your Concentration Result
A correct division can still describe the wrong preparation. Like a map with an unknown scale, a concentration calculation is useful only when its underlying assumptions match the material and the measurement.
Questions about mass and volume
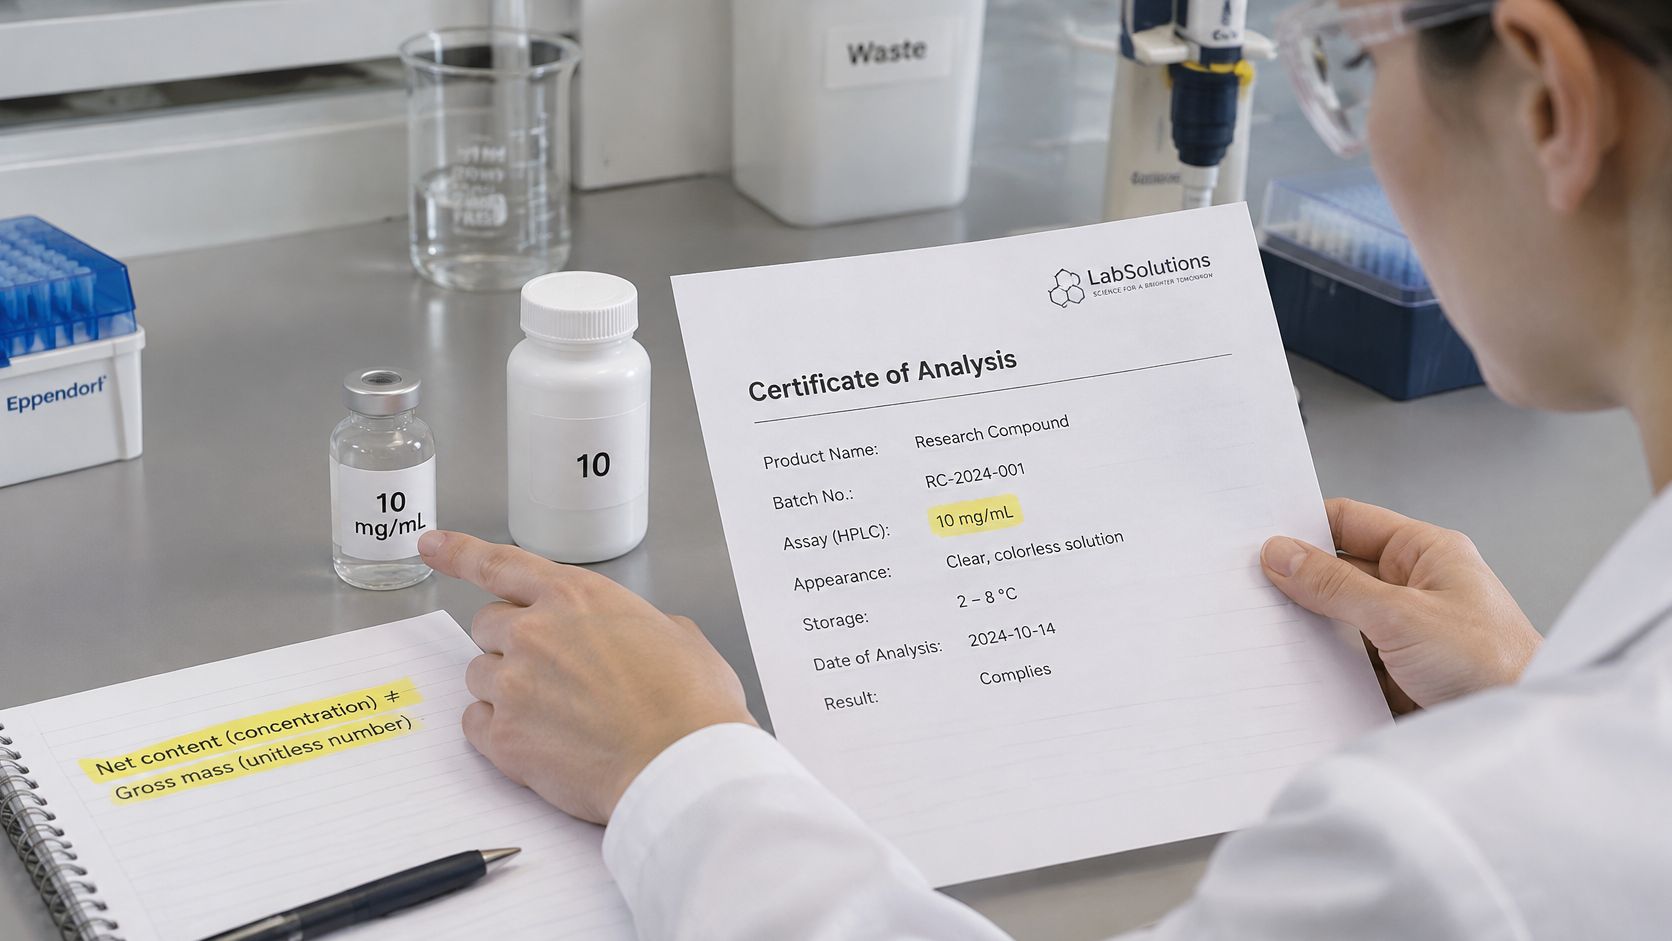
- Does the labelled mass represent the intended solute? Water, salts, or other components may contribute to a stated material mass. The record should identify the certificate's net-content basis rather than assuming that every milligram represents the target solute.
- Was final volume measured or inferred? Dissolving a solid can change the volume. A worksheet should distinguish a preparation made to a measured final volume from one calculated by assuming that added diluent equals final solution volume.
- Were the measurements made at a stated temperature? Liquid volume changes with temperature, and volumetric equipment has a reference calibration condition. The operator should record the preparation temperature and use equipment under the conditions specified by the laboratory procedure.
For example, suppose a hypothetical vial is labelled 5 mg but its certificate states 4.2 mg of the intended solute. The correction factor is 4.2 mg ÷ 5 mg = 0.84; a calculation using the labelled mass would therefore need that factor applied.
If the certificate already supplies the usable net mass, that mass goes directly into the calculation. Applying the correction again would count the same adjustment twice.
Questions about composition and dissolution
A preservative-containing diluent contributes more than water to the final mixture. Bacteriostatic water contains 0.9% benzyl alcohol, so the preparation record should identify that composition and establish compatibility with the material and analytical method.
Handling guidance for bacteriostatic water supports the procedural side of that choice, but a handling procedure doesn't establish chemical compatibility. The diluent's stated pH range is also a reference condition, not proof of the final mixture's pH.
Dissolution needs its own acceptance check. Material left on the wall or remaining as undissolved solid isn't uniformly available throughout the solution, so the calculated concentration may overstate the dissolved concentration.
A clear formula needs explicit assumptions beside it, not assumptions left in the operator's memory.
The worksheet should therefore name the mass basis, volume basis, temperature, diluent composition, and dissolution acceptance criterion. A reviewer can then change an assumption and see which part of the result changes.
Working Out Volumes with C1V1 Dilution Rules
A dilution redistributes a fixed amount of solute through a larger volume. Like scaling a recipe without changing the amount of its defining ingredient, the calculation preserves solute amount while changing concentration.
The relationship is C₁V₁ = C₂V₂, where the subscript 1 identifies the stock and the subscript 2 identifies the final preparation. Solving for the stock transfer gives V₁ = C₂V₂ ÷ C₁.
Worked calculations with units attached
The following values are hypothetical teaching examples, not recommended preparation amounts.
Dilution and volume worked examples
| Scenario | Known values | Calculation | Result |
|---|---|---|---|
| Stock to working solution | C₁ 10 mg/mL, C₂ 1 mg/mL, V₂ 5 mL | V₁ = (1 mg/mL × 5 mL) ÷ 10 mg/mL | 0.5 mL stock; nominally 4.5 mL diluent |
| Volume for target concentration | 2 mg at 4 mg/mL | V = 2 mg ÷ 4 mg/mL | 0.5 mL final solution |
| Percent to mg/mL | Hypothetical 0.5% w/v solution | 0.5 g ÷ 100 mL = 500 mg ÷ 100 mL | 5 mg/mL |
| Molar to mass concentration | Hypothetical 0.010 mol/L solution; molar mass 500 g/mol | 0.010 mol/L × 500 g/mol | 5 g/L = 5 mg/mL |
| Serial dilution | Three 1:10 steps | 10 × 10 × 10 | Overall dilution factor 1,000, or 1:1,000 |
In the stock-to-working example, (1 mg/mL × 5 mL) ÷ (10 mg/mL) leaves mL after cancellation. The stock contributes the required material in 0.5 mL, so the nominal diluent addition is 5 mL − 0.5 mL = 4.5 mL.
The target-mass example uses a different starting point. Dividing 2 mg by 4 mg/mL gives 0.5 mL of final solution, not automatically an instruction to add that much solvent to a solid.
The percentage example begins with the definition of weight per volume. Converting 0.5 g to 500 mg before division gives 500 mg ÷ 100 mL = 5 mg/mL.
For the molar example, multiplying 0.010 mol/L by 500 g/mol cancels mol and leaves 5 g/L. That is numerically equivalent to 5 mg/mL, provided the chosen molar mass describes the correct material form.
Transfers and serial dilution
Each hypothetical 1:10 step means one part of the preceding solution brought to ten parts total. It doesn't mean one part stock plus ten parts diluent.
A serial preparation also requires mixing before each onward transfer. An inaccurate transfer or incomplete mixing affects every downstream preparation, even when the multiplication on the worksheet is correct.
The C1V1 transfer math for dilutions provides a focused reference for organising stock and final-volume terms. Before solving, concentration units must agree with each other, and volume units must agree with each other; µg/mL isn't incompatible with mL.
A simple dilution must finish below the stock concentration, and the final volume must fit the selected container.
For precise volumetric work, the operator brings the mixture to the final volume rather than relying on perfect volume additivity. The subtraction gives the nominal diluent requirement, while the measured endpoint establishes the actual preparation volume.
How to Reconstitute a Lyophilised Material Step by Step
Reconstitution converts a calculated target into a physical preparation. The approved material-specific procedure remains essential because solvent compatibility, mixing limits, and acceptance criteria aren't established by concentration maths alone.
A lyophilised-material listing, such as the Bulk Aussie Peptides lyophilised range, can provide context for identifying the material format. The actual vial label, lot certificate, and laboratory procedure remain the controlling documents for preparation.
Preparation sequence
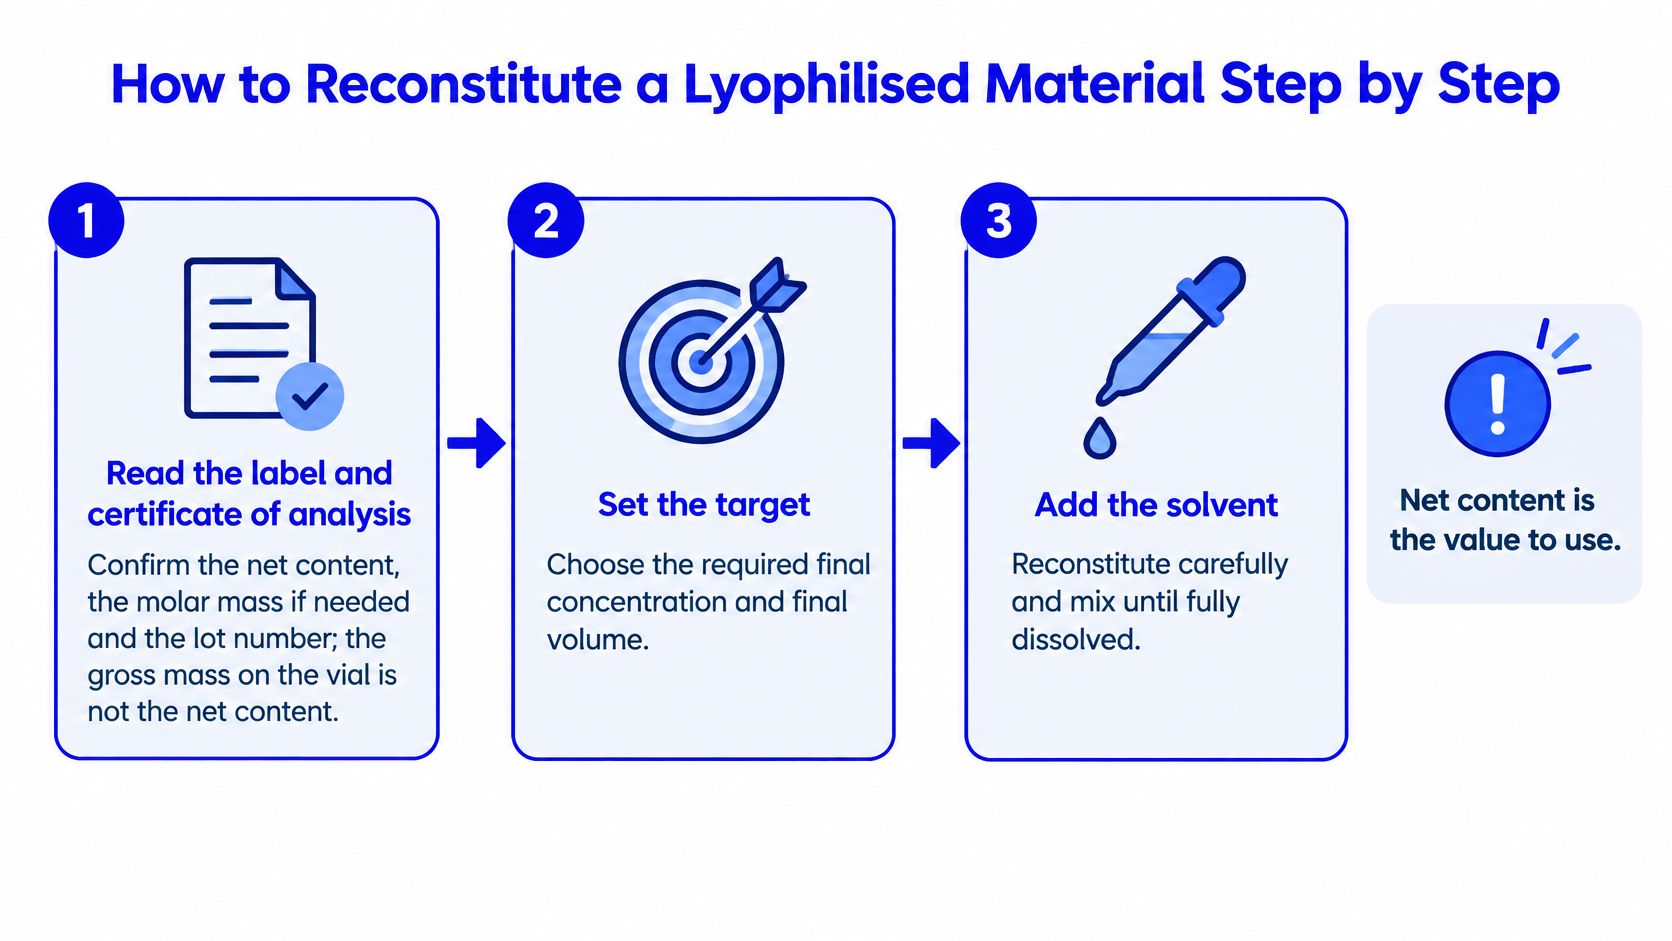
Confirm the starting material. The operator reads the label and certificate for material identity, net content, lot number, and molar mass if required, because gross or nominal material mass must not replace the intended solute mass.
Set the calculation endpoint. The operator selects the protocol's target concentration and solves V = m ÷ C for final solution volume, avoiding the common slip of treating final volume as an automatically identical solvent addition.
Equilibrate closed containers. The vial and diluent reach the procedure's room-temperature working condition before opening, reducing condensation and temperature-related measurement differences without assuming that every material permits prolonged warming.
Prepare the closure. The operator wipes a compatible stopper with 70% isopropyl alcohol and allows it to dry fully, since incomplete surface preparation or touching the cleaned closure can compromise aseptic handling.
Measure the planned diluent. A calibrated laboratory syringe with a smallest graduation well below the intended transfer volume provides suitable resolution, while the operator distinguishes the planned addition from any separately controlled final-volume adjustment.
Add liquid gently. The operator directs diluent slowly down the inner vial wall rather than onto the material, limiting foaming and avoiding unnecessary disturbance of the dry contents.
Mix within the material's limits. Gentle swirling promotes dissolution without vigorous shaking, which can damage sensitive material or create foam that makes inspection and volume assessment difficult.
Inspect the preparation. The operator checks against light and dark backgrounds for undissolved material and visible particles, rather than treating an apparently wet solid or a brief swirl as proof of complete dissolution.
Label the prepared vial. Material identity, concentration, final volume, preparation date, applicable in-use date, and operator role prevent an otherwise correct preparation from becoming an unidentified container.
Complete the batch entry. The calculation and actual preparation details enter the batch log immediately, avoiding reconstruction from memory after several similar vials have been handled.
Acceptance before release
For a material expected to form a clear solution, the prepared liquid should be clear, free of undissolved solid, and at the expected volume. Any unexpected haze, colour, residue, or volume discrepancy requires assessment against the material-specific procedure.
Visual clarity isn't proof of identity, chemical integrity, concentration, or sterility. Where the procedure requires analytical confirmation, the preparation remains subject to that check even when its appearance is acceptable.
A failed dissolution check isn't a reason to improvise heating, pH adjustment, or extra solvent. Those changes can alter the preparation and require an authorised method with a revised calculation and record.
Recording Calculations for Audit and Traceability
A result without its inputs cannot be checked by anyone else. Another researcher may recognise the intended preparation yet still be unable to recreate the same concentration from the final number alone.
An auditable worksheet connects the starting material, arithmetic, physical measurements, and handling history. It preserves how the number was obtained, so a reviewer can reproduce each step rather than trust the outcome.
Minimum preparation record
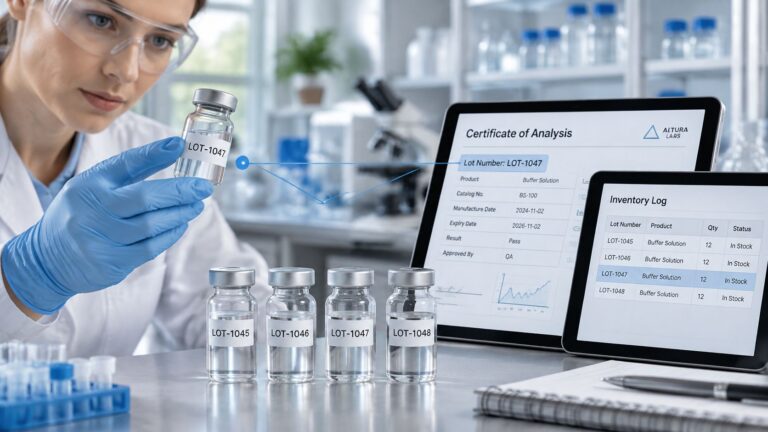
- Material identity and lot number. These connect the calculation to the actual container rather than a similarly labelled material.
- Certificate reference and mass basis. The record includes the net content, any correction factor, and any molar mass used so the starting quantity can be checked independently.
- Formula and variables. The equation appears with substituted values and units, allowing a reviewer to identify both arithmetic and conversion errors.
- Diluent identity and lot documentation. Each Herbilabs Reconstitution Solution lot has its own Certificate of Analysis available on the COA page, enabling lot-specific documentation rather than a generic specification.
- Calculated and measured volumes. Recording both exposes differences between the intended transfer, the actual addition, and the final solution volume.
- Final concentration and status. The value carries its unit and identifies whether it is calculated or analytically confirmed.
- Preparation and handling dates. The preparation date, first-puncture date, storage condition, and assigned in-use date establish the relevant handling history.
- Operator role. The record names who prepared and who entered the data, so any later question has an identifiable source.
Linking the worksheet to the batch
A common laboratory convention assigns a 28-day in-use period after first puncture to multi-use vials handled aseptically. That convention is not a product guarantee, does not establish the stability of a reconstituted material, and does not replace an approved laboratory procedure.
The record therefore needs the actual first-puncture date, not merely the date a later preparation was made. The assigned in-use date should reflect the applicable procedure, compatibility information, and any handling deviation.
A laboratory should be able to trace a single batch from its certificate through each preparation entry. The worksheet belongs alongside the batch log, with a controlled template version and an amendment history that preserves the original entry, reason for change, and reviewer approval.
Checking Results and Correcting Errors
A calculated result can look plausible and still be wrong. Small mistakes hide in unit bases, masses, and volume readings, and they surface only when someone reconstructs the result from the original inputs.
Calculation errors, effects and corrections
| Error | Effect on the result | Correction |
|---|---|---|
| Confusing % w/v with % v/v | Concentration wrong by an amount determined by the solute and its density | Check the unit basis on the label before calculating |
| Using gross mass instead of net content | Concentration overstated by the non-solute fraction | Apply the net-content correction described in the assumptions section |
| Mixing µg, mg, mL and µL in one formula | Unit-scale errors that can greatly overstate or understate concentration | Convert every term to one consistent unit system before solving |
| Adding the full target volume as diluent | Final volume larger than the target | Add only the remaining volume as nominal diluent, then confirm the final volume |
| Misreading the meniscus or trapped bubbles | Small errors that accumulate across repeat preparations | Read the meniscus correctly and let bubbles rise before reading |
| Rounding intermediate values early | Drift in the final concentration | Carry full precision and round only the final result |
Investigating a result that looks wrong
The first check concerns meaning, not arithmetic. A reviewer establishes whether the label describes a mass, a liquid-volume fraction, or a mass-per-volume concentration, then confirms that the certificate's content basis matches the calculation.
Next, the reviewer rewrites every term with its unit. A calculator can't distinguish an intended milligram from an accidentally entered microgram, and written unit cancellation works like a dimensional audit: if the surviving units don't match the target's units, the formula itself is wrong regardless of the number it produced.
Volume readings deserve the same attention. For a clear aqueous liquid in equipment read by a meniscus, the operator reads the bottom of the curve at eye level, because an angled sightline shifts the apparent line. Syringe readings follow the equipment's specified plunger reference, with trapped air expelled before measurement.
- Preserve calculation precision. Intermediate values remain unrounded until the final result is expressed at a precision supported by the equipment and method.
- Check practical measurability. A mathematically valid transfer may be too small for the available instrument, requiring an authorised intermediate dilution rather than an estimated draw.
- Separate correction from concealment. A preparation outside tolerance is documented and assessed under the deviation procedure. Relabelling it to match the intended target hides the failure instead of resolving it.
Independent review and preparation readiness
A second person should recalculate from the original inputs and compare the result with the displayed answer. A rough estimate provides a separate check: a small stock transfer into a much larger final volume should produce a correspondingly lower concentration.
The reviewer then compares the result with the tolerance stated in the SOP. Agreement between two calculations doesn't establish acceptability if both used unsuitable equipment or the wrong starting value. Two matching wrong answers are still wrong.
Herbilabs Reconstitution Solution 10 mL should be stored at 15–25 °C (room temperature). That storage guidance applies to the diluent; the prepared material requires its own documented storage conditions.
The final pre-check belongs immediately before bench work:
- Protocol units agree. The target concentration uses the units and concentration basis required by the procedure.
- Net content is applied. The certificate's relevant mass basis appears correctly in the calculation.
- Stock volume is accounted for. The dilution volume follows the subtraction defined in the dilution section, with the required final-volume control defined.
- The record is complete. Inputs, equipment, acceptance criteria, dates, and review fields are ready for contemporaneous entry.
Preparation starts only when the calculation, record, and SOP agree.
Signed by Herbilabs.
Herbilabs manufactures research-use-only bacteriostatic water, sterile water with 0.9% benzyl alcohol in multi-use glass vials, with the 10 mL vial and 10 x 10 mL kit in stock. Researchers can visit Herbilabs to review the available formats and support concentration planning with lot-specific documentation; all orders ship from the EU across the US, the UK and the EU.