Private Label, White Label, Wholesale partnerships available - EU, USA and UK - Free shipping from €75
How to Handle Sterile Reagents: A Lab Professional’s Guide
Learn how to handle sterile reagents effectively with our expert guide. Master aseptic techniques to ensure your experiments are valid and safe.
TL;DR:
- Handling sterile reagents without contamination requires strict aseptic techniques, proper environment, and disciplined operator hygiene. Proper storage, documentation, and validation ensure reagent integrity and compliance with regulatory standards. Consistent training and understanding of each step greatly reduce contamination risks and improve reproducibility.
Knowing how to handle sterile reagents correctly is one of the most consequential skills in any research or pharmaceutical laboratory. A single lapse in aseptic technique can introduce microbial contaminants that invalidate an entire experimental batch, compromise patient safety in clinical settings, or force costly repeat runs. Sterile reagents including bacteriostatic water, sterile diluents, and reconstitution solutions form the backbone of peptide research, cell culture, and analytical workflows. This guide covers preparation requirements, step-by-step aseptic procedures, storage best practices, and quality verification methods to help you maintain experimental integrity at every stage.
Table of Contents
- Key Takeaways
- How to Handle Sterile Reagents: Foundations and Preparation
- Step-by-step procedures for aseptic reagent handling
- How to store sterile reagents properly
- Verification, quality control, and contamination response
- My perspective on what labs consistently get wrong
- Herbilabs products for sterile reagent workflows
- FAQ
Key Takeaways
| Point | Details |
|---|---|
| Aseptic technique is non-negotiable | Blocking first-air flow in a HEPA-filtered zone is the primary cause of contamination during sterile reagent handling. |
| Operator hygiene is the highest risk | Frequent glove changes and disciplined hand hygiene reduce the leading vector for reagent contamination. |
| Aliquoting preserves sterility | Dividing stock reagents into single-use volumes prevents repeated-access contamination and freeze-thaw degradation. |
| Documentation equals compliance | Purchasing sterile-grade reagents alone does not satisfy GMP; continuous batch records and validation are mandatory. |
| Storage conditions determine shelf life | Temperature, light exposure, and container integrity directly determine whether a reagent remains sterile over time. |
How to Handle Sterile Reagents: Foundations and Preparation
Before touching any sterile reagent, you need a clear understanding of what you are working with and what your environment must provide. Sterile reagents are solutions or powders that have been processed to eliminate all viable microorganisms and are validated to remain free of microbial contamination under defined conditions. Common categories include sterile water for injection (WFI), bacteriostatic water, phosphate-buffered saline (PBS), sterile diluents, and lyophilized reconstitution solutions. Each category carries specific handling requirements based on its composition and intended use.
Lab environment requirements
The environment in which you handle sterile reagents matters as much as the reagent itself. ISO Class 5 conditions, typically provided by a biological safety cabinet (BSC) or laminar airflow hood, are the baseline for most pharmaceutical and research-grade aseptic work. ISO Class 7 or 8 background rooms support the cabinet but should never substitute for it during open manipulation of sterile materials. Regular certification of your hood, including airflow velocity and HEPA filter integrity checks, is not optional.
| Tool or Material | Purpose | Specification |
|---|---|---|
| Biological safety cabinet (ISO 5) | Primary sterile work environment | Class II, Type A2 or B2 |
| Sterile nitrile gloves | Hand barrier during manipulation | Powder-free, sterile-grade |
| 70% isopropyl alcohol (IPA) | Surface and stopper disinfection | USP-grade preferred |
| Sterile syringes and needles | Reagent transfer and reconstitution | Single-use, individually packaged |
| Sterile filtration units (0.22 µm) | Terminal sterilization of solutions | Low protein-binding membrane |
| Cryogenic vials or sterile tubes | Aliquot storage | Certified sterile, leakproof |
Personal protective equipment and hygiene
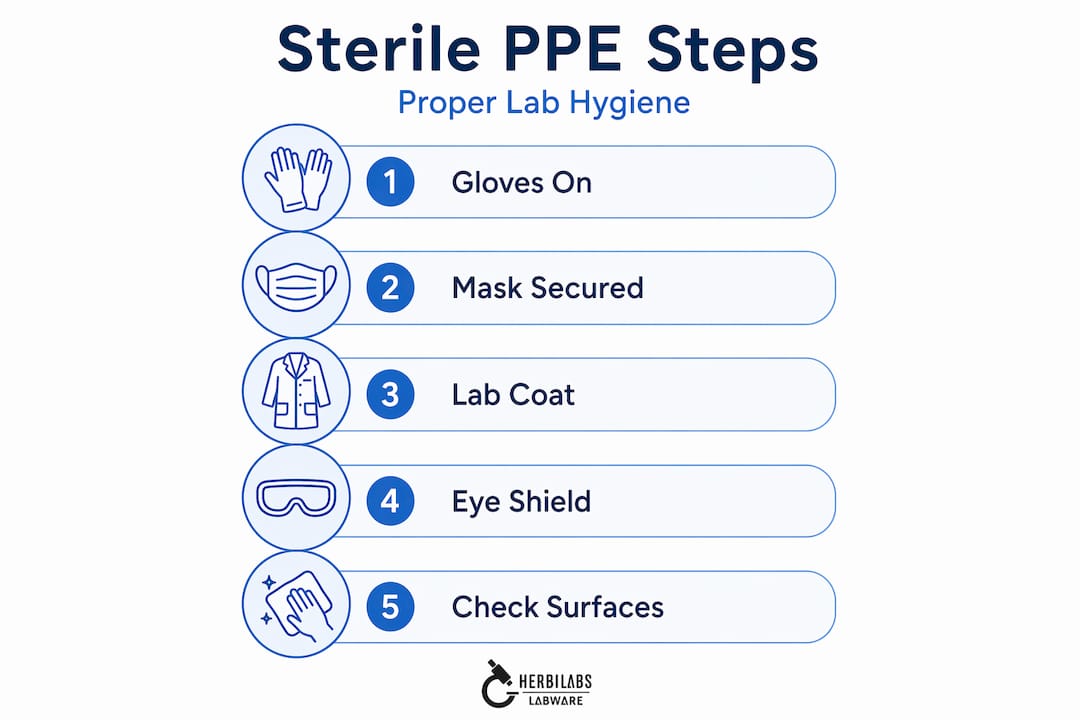
Required PPE includes sterile gloves, a lab coat, eye protection, and a face mask in cleanroom-adjacent environments. Operator glove hygiene is the largest vector for contamination despite working in ostensibly sterile environments. Gloves must be changed immediately after any contact with non-sterile surfaces, phone screens, door handles, or face. Spraying gloves with 70% IPA before each manipulation adds a meaningful secondary barrier, but it does not replace a full glove change when contamination is suspected.
Step-by-step procedures for aseptic reagent handling
Consistent, repeatable technique separates laboratories that achieve reproducible results from those that do not. The following numbered procedure applies to the most common scenario: reconstituting a lyophilized reagent or transferring a sterile solution under aseptic conditions.
- Prepare the work area. Turn on the BSC at least 15 minutes before use. Wipe all interior surfaces with 70% IPA using a lint-free wipe, moving from back to front and clean to dirty zones.
- Garb appropriately. Put on a fresh pair of sterile gloves over clean hands. Spray glove surfaces with IPA and allow them to dry completely before touching any sterile item.
- Arrange materials inside the BSC. Place sterile items at least 6 inches from the front grille and 4 inches from the sides. Never stack items or position them in a way that creates a shadow over adjacent sterile materials.
- Disinfect all stoppers and ports. Swab rubber stoppers and needleless injection ports with a fresh IPA swab, using a single unidirectional stroke. Allow 30 seconds of contact time before proceeding; do not fan or blow to dry.
- Maintain the first-air zone. Blocking first-air flow is the primary cause of contamination in aseptic processing. Keep hands and arms at or below the level of the work surface and never pass them over an open container.
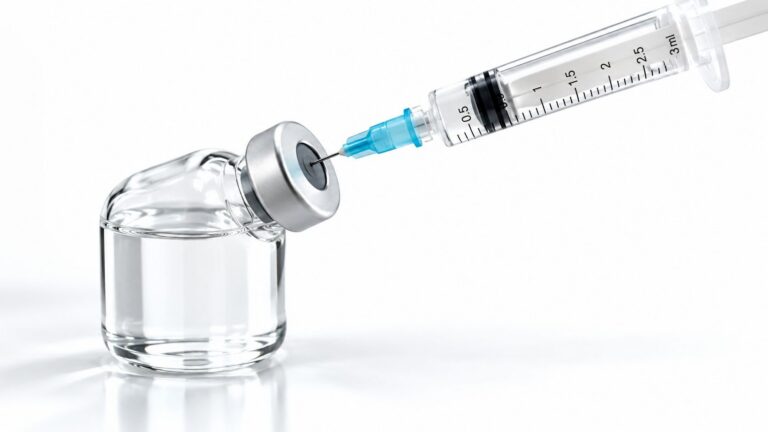
- Transfer the reagent. Use a sterile, single-use syringe and needle for each transfer. Insert the needle bevel-up at a 45-degree angle, withdraw the required volume, and immediately recap using the one-hand scoop method.
- Minimize open time. Close vials, cap syringes, and seal containers as quickly as the procedure allows. Extended exposure of open containers in any airflow environment increases contamination probability substantially.
- Apply the one-inch border rule. The outer boundary of a sterile field is considered non-sterile. Any item that contacts or falls within that perimeter must be discarded, regardless of its original sterility status.
- Document the manipulation. Record the lot number, expiration date, time of handling, and operator initials in the batch record immediately after each procedure. Do not reconstruct records from memory at the end of a session.
Pro Tip: When performing multiple reconstitutions in a single session, aliquot stock reagents into single-use volumes before beginning. This eliminates the need to re-enter primary stock containers during the session and sharply reduces cumulative contamination exposure.
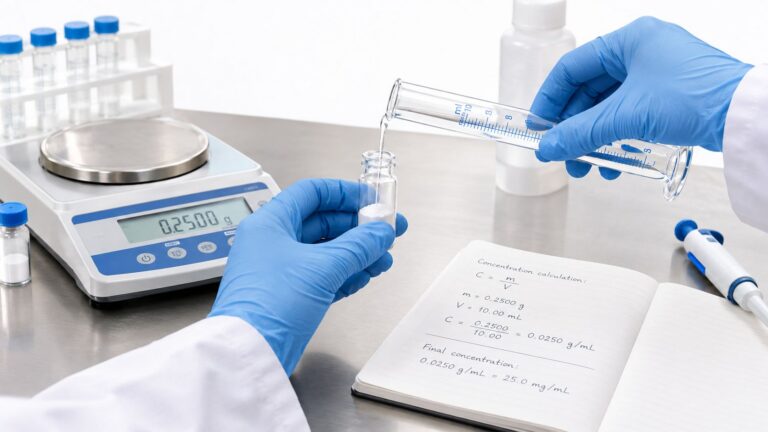
One additional step that many researchers underestimate: confirm your balance accuracy if you are weighing reagents for preparation. Specialized semi-microbalances integrated into gloveboxes offer superior measurement precision compared to standard analytical balances when working with sensitive sterile materials under inert or controlled atmospheres.
For a detailed checklist of aseptic preparation steps, Herbilabs offers a practitioner-level resource on reagent preparation techniques that covers scenarios from simple dilutions to complex multi-component reconstitutions.
How to store sterile reagents properly
Correct storage is where many laboratories lose ground after flawless handling. A reagent handled perfectly during reconstitution can still degrade or become contaminated if returned to inadequate storage conditions.
- Label every aliquot completely. Include reagent name, lot number, concentration, preparation date, expiration date, and the initials of the operator who prepared it. Partial labeling is a regulatory finding waiting to happen.
- Match storage temperature to reagent specifications. Most sterile aqueous solutions are stored at 2 to 8°C. Lyophilized materials often tolerate room temperature until reconstituted, at which point they typically require refrigeration or freezing. Always defer to the certificate of analysis (CoA).
- Avoid repeated freeze-thaw cycles. Aliquoting into single-use volumes before freezing eliminates the need to thaw and refreeze a working stock, which degrades both potency and sterility assurance.
- Protect from light where specified. Photosensitive reagents such as fluorescent dye conjugates or certain buffers require amber vials or opaque storage containers. Light-induced degradation is often invisible until you run your assay and get anomalous results.
- Use integrity-tested containers. Cracked caps, compromised septa, and vials with visible particulates are grounds for immediate disposal. A container that has lost its seal has lost its sterility.
- Maintain environmental monitoring logs. Refrigerator temperatures must be logged daily and reviewed weekly. Excursions above the upper limit of the specified range must be documented and the potentially affected reagents quarantined pending investigation.
- Follow GMP documentation requirements. Purchasing sterile reagents alone does not meet GMP; continuous documentation and validation records are mandatory for any regulated environment.
For guidance on handling specific sterile diluent categories, the Herbilabs resource on sterile diluents in research provides reagent-specific precautions that complement the general principles above.
Verification, quality control, and contamination response
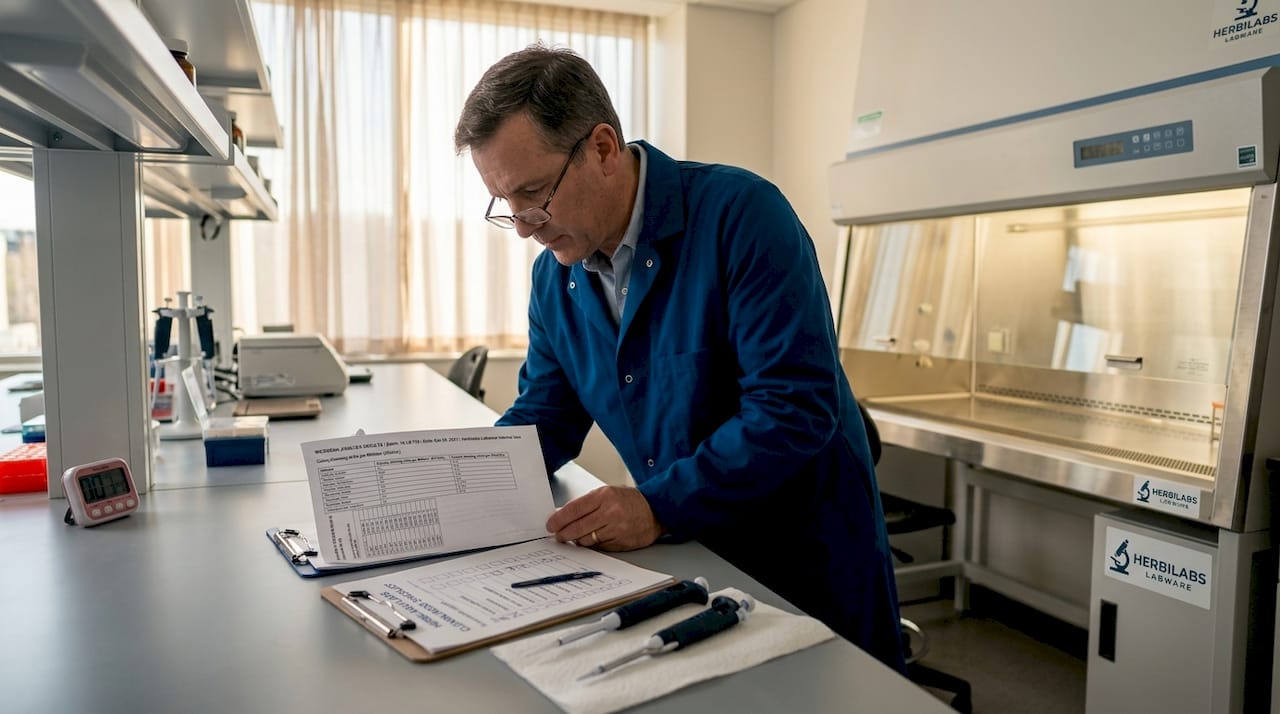
No handling protocol is complete without a systematic approach to verifying that sterility has been maintained and responding decisively when it has not.
Microbial limits and testing standards
USP Chapter 1231 defines the microbial action limits that apply to most pharmaceutical-grade water systems: 100 CFU/mL for Purified Water and 10 CFU/100 mL for Water for Injection. These benchmarks provide a quantitative threshold against which environmental monitoring cultures and in-process water testing can be evaluated. Exceeding either limit triggers a formal investigation, not merely a repeat test.
Endotoxin testing using the Limulus Amebocyte Lysate (LAL) assay is the standard method for detecting bacterial endotoxins in injectable-grade materials. For WFI and reagents intended for in vivo or cell-based assays, endotoxin levels must fall below 0.25 EU/mL or the threshold defined in your protocol’s acceptance criteria.
Contamination sources and prevention
| Contamination Source | Common Scenario | Preventive Measure |
|---|---|---|
| Operator touch | Glove contacts non-sterile surface before manipulation | Change gloves immediately; re-disinfect with IPA |
| Air exposure | Open container left uncapped in non-HEPA zone | Minimize open time; work exclusively within BSC |
| Equipment | Non-sterile pipette tip contacts reagent surface | Use sterile, individually wrapped tips for each transfer |
| Cross-contamination | Prior reagent residue in shared equipment | Dedicated equipment per reagent; thorough cleaning validation |
| Stopper breach | Improper or repeated needle entry through septum | Single-entry aliquots; discard multi-accessed primary stocks |
Transitioning from research-grade to GMP-grade reagents is another point of significant vulnerability. Validation protocols commonly add 6 to 12 months to project timelines during grade transitions, meaning that quality failures discovered late in a project carry compounding costs. Building verification into every stage of handling, rather than treating it as a terminal step, prevents the bulk of these delays.
Pro Tip: When a contamination event is suspected, do not discard affected reagents immediately. Quarantine, photograph, and sample them for microbial identification before disposal. The data you collect during the investigation will inform corrective actions and prevent recurrence far more effectively than a reflexive discard response.
For a thorough reference on contamination prevention protocols, the Herbilabs guide on lab contamination prevention addresses microbial control and sterile field management in practical, step-by-step terms.
My perspective on what labs consistently get wrong
In my experience working alongside laboratory professionals across pharmaceutical, biotech, and independent research settings, the most persistent problem is not ignorance of the written protocol. It is the gradual erosion of discipline that happens when nothing goes visibly wrong for a while. Teams that maintain flawless technique for six months start taking small shortcuts because the results still look clean. Then they get a contamination event that costs them two weeks of work and they cannot trace the source because the deviation was never logged.
What I have found is that the laboratories with the best sterility records treat aseptic handling as a non-negotiable behavioral standard, not a set of steps to complete before the real science begins. The operators who perform best are those who can articulate why each step exists, not just what to do. When you understand that blocking airflow is the primary contamination mechanism in an aseptic setting, you naturally position your hands differently without having to think about it.
The other thing I would push back on is the tendency to over-rely on reagent quality as a proxy for handling quality. A reagent supplied at the highest purity standard available is only as sterile as the last pair of hands that touched it. Training and retraining, including unannounced competency observations, produce more durable results than any equipment upgrade.
— Ragnar
Herbilabs products for sterile reagent workflows
Herbilabs manufactures and supplies a curated range of sterile reagents and reconstitution solutions designed to meet the demands of rigorous research and pharmaceutical environments. Every product in the Herbilabs catalog is produced under strict purity controls with full batch documentation, so the foundation for your handling workflow begins with a verified, contaminant-free starting material. For researchers working with lyophilized peptides or sensitive biological compounds, the high-purity reconstitution solutions available through Herbilabs provide a reliable, research-grade baseline that removes one major variable from your sterility equation. If you are evaluating reagent options for your specific application, the Herbilabs guide on selecting laboratory reagents for peptide research offers a structured framework for matching product specifications to protocol requirements.
FAQ
What is the correct environment for handling sterile reagents?
Sterile reagents must be handled within an ISO Class 5 environment, such as a certified biological safety cabinet or laminar airflow hood, with HEPA-filtered air. Background room conditions should meet at minimum ISO Class 7 to support the primary sterile workspace.
How often should gloves be changed during sterile reagent handling?
Gloves must be changed any time they contact a non-sterile surface, including bench edges, personal items, or skin. As a general rule, changing gloves between each distinct handling step and re-disinfecting with 70% IPA between sub-steps is the standard that high-compliance laboratories follow.
Why is aliquoting sterile reagents recommended?
Repeated opening of stock containers introduces airborne contaminants and subjects reagents to freeze-thaw cycling. Aliquoting into single-use volumes before storage eliminates both risks and preserves reagent integrity across multiple experimental sessions.
What microbial limits apply to sterile water reagents?
USP Chapter 1231 sets action limits at 100 CFU/mL for Purified Water and 10 CFU/100 mL for Water for Injection. Exceeding either threshold requires a documented investigation before the water system or affected reagents can be released for use.
Does purchasing a sterile-labeled reagent satisfy GMP documentation requirements?
No. Sterile-grade labeling alone does not meet GMP. Full compliance requires sterilization validation records, batch documentation, environmental monitoring logs, and operator competency records maintained throughout the reagent’s use life.