TL;DR:
- Labware integrity is essential to prevent contamination, false results, and regulatory penalties.
- Proper validated cleaning, disinfection, and thorough documentation ensure compliance and reliability.
- Regular residue testing and vigilant monitoring help maintain consistent labware performance in GMP environments.
A single unwashed residue, an improperly stored reagent vial, or a missed disinfection cycle can invalidate weeks of experimental data and trigger costly regulatory audits. For laboratory managers and independent researchers operating under EU GMP frameworks or equivalent UK standards, labware integrity is not a peripheral concern but a foundational requirement. This guide covers the complete workflow: understanding the risks, gathering the right tools and documentation, executing validated cleaning and handling procedures, and verifying results through systematic monitoring. Each section is designed to provide actionable, compliance-ready guidance for labs where precision is non-negotiable.
Table of Contents
- Understand the risks: Why labware integrity matters
- Gather requirements: Tools, materials, and documentation
- Step-by-step: Cleaning, disinfection, and handling procedures
- Verify results: Testing, monitoring, and troubleshooting
- A laboratory manager’s perspective: What truly keeps labware reliable
- Take your labware integrity further with trusted solutions
- Frequently asked questions
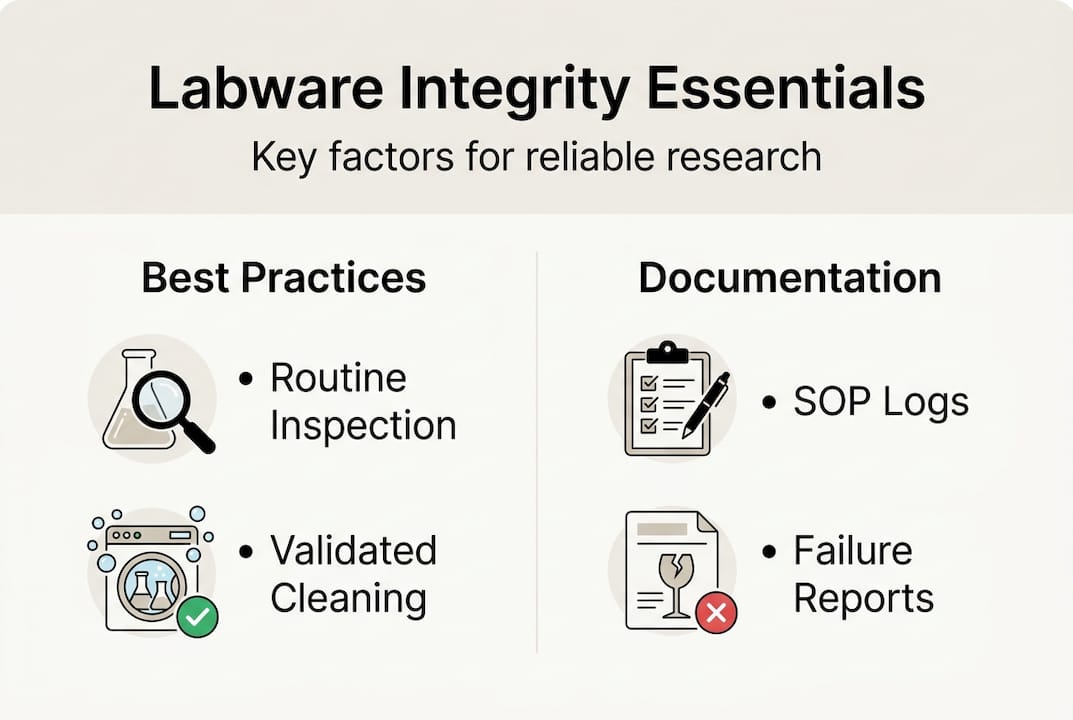
Key Takeaways
| Point | Details |
|---|---|
| Document procedures | Accurate SOPs and cleaning logs are essential for regulatory compliance and quality control. |
| Use validated cleaning agents | Consistently rotate disinfectants to prevent microbial resistance and secure labware integrity. |
| Test for contaminants | Routine residue testing ensures ongoing reliability and protects research outcomes. |
| Troubleshoot proactively | Regular monitoring and decisive action address failures before they compromise data. |
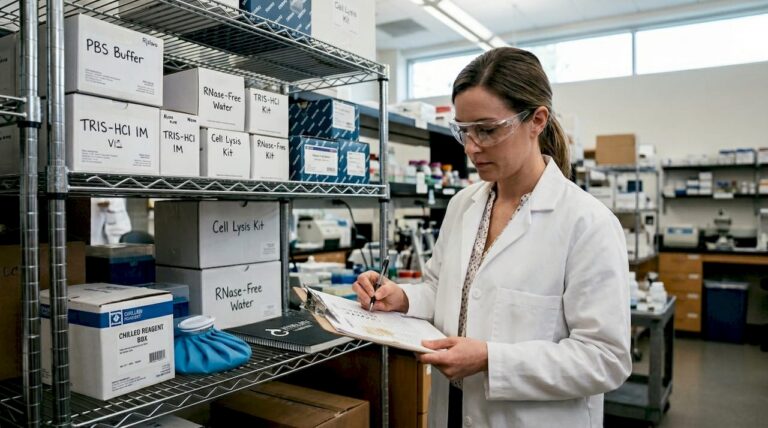
Understand the risks: Why labware integrity matters
Labware integrity refers to the physical, chemical, and microbiological condition of laboratory equipment and consumables at every stage of use. When integrity is compromised, the consequences extend well beyond a failed experiment. Chemical residues from previous assays can interfere with reagent activity, alter pH, or introduce false positives in sensitive assays. Cross-contamination between samples can corrupt entire data sets. Microbial growth in inadequately cleaned glassware or plastic consumables can render biological experiments unreliable and, in some cases, create safety hazards for lab personnel.
The regulatory stakes are equally significant. Labs operating under EU GMP Annex 1 or equivalent frameworks are required to implement risk-based cleaning validation, maintain thorough documentation, and demonstrate that cleaning procedures are effective and reproducible. Failure to meet these requirements can result in regulatory penalties, product recalls, and suspension of research activities. For independent researchers, non-compliance may mean loss of institutional funding or invalidated publications.
Common threats to labware integrity include:
- Chemical residue carry-over: Detergent traces, solvent films, or reagent remnants that persist after inadequate rinsing
- Cross-contamination: Transfer of biological or chemical agents between samples due to shared or inadequately cleaned equipment
- Microbial growth: Biofilm formation in tubing, pipette tips, or storage containers exposed to moisture
- Physical degradation: Micro-cracks in glassware or deformation of plastic consumables that harbor contaminants
- Improper storage: Exposure to UV light, temperature fluctuations, or reactive atmospheres that alter labware surface chemistry
For labs following lab quality control tips aligned with GMP standards, the emphasis is on prevention rather than remediation. Downstream effects of integrity failures include wasted reagents, repeated assays, failed audits, and, in regulated environments, significant financial penalties.
GMP cleanroom practices require SOPs with validated disinfectants, rotation strategies, residue testing, and documented cleaning frequencies based on cleanroom class.
Understanding labware purity importance is especially critical in peptide research and reconstitution workflows, where even trace contaminants can alter biological activity. With the importance of labware integrity clear, the next step is to prepare the right resources and frameworks.
Gather requirements: Tools, materials, and documentation
Maintaining labware integrity requires more than good intentions. It demands validated materials, properly calibrated equipment, and a documentation infrastructure that can withstand regulatory scrutiny. The following components form the foundation of a compliant, effective labware management system.
Validated cleaning agents and disinfectants
Not all cleaning agents are appropriate for all labware types or research contexts. In Europe, GMP validation requirements under EU GMP Annex 1 emphasize risk-based cleaning validation and rotation of disinfectants to prevent microbial resistance. Common validated agents include 70% isopropyl alcohol (IPA), quaternary ammonium compounds, and peracetic acid solutions, each selected based on the cleanroom class and the nature of potential contaminants.
Essential equipment
| Equipment | Purpose | Key specification |
|---|---|---|
| Autoclave | Steam sterilization of reusable glassware | Validated cycle parameters (121°C, 15 min minimum) |
| Ultrasonic cleaner (sonicator) | Removal of particulate and film residues | Frequency: 37-40 kHz for most labware |
| Residue tester / TOC analyzer | Detection of organic residue post-cleaning | Sensitivity: <10 ppb total organic carbon |
| Laminar flow hood | Aseptic handling of cleaned labware | Class A/ISO 5 airflow standard |
| Digital cleaning log system | Compliance documentation | Audit trail, timestamped entries |
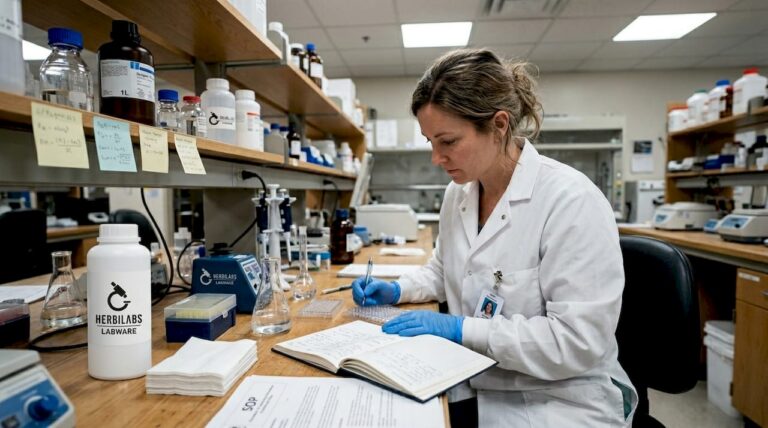
Documentation requirements
Every cleaning and sterilization event must be captured in a structured SOP (standard operating procedure), supported by cleaning logs and periodic validation reports. For labs practicing aseptic reagent techniques, documentation is not optional. It is the evidence base that demonstrates procedural compliance during audits.
Key documents include:
- SOPs: Step-by-step cleaning and disinfection procedures, version-controlled and signed off by a qualified person
- Cleaning logs: Date, operator, agent used, contact time, and residue test result for each cleaning event
- Validation reports: Periodic challenge studies demonstrating cleaning efficacy against target contaminants
- Deviation reports: Documented records of any failures, with corrective and preventive actions (CAPAs)
Pro Tip: Digital tracking tools, including laboratory information management systems (LIMS), significantly reduce compliance errors by automating log entries, flagging overdue cleaning cycles, and generating audit-ready reports. Labs that integrate consumables workflow management into their LIMS often report fewer documentation gaps during regulatory inspections. Proper reagent handling safety protocols should also be embedded within these SOPs to address chemical compatibility and personal protective equipment requirements. Once equipped and organized, you can execute the core steps for maintaining labware integrity.
Step-by-step: Cleaning, disinfection, and handling procedures
A structured, reproducible procedure is the operational core of labware integrity. The following sequence applies to reusable labware in a GMP-aligned research environment, with notes on single-use consumables where relevant.
- Pre-rinse: Immediately after use, rinse labware with the appropriate solvent (deionized water for aqueous residues, organic solvent for lipid or polymer residues) to prevent residue hardening.
- Detergent wash: Apply a validated laboratory detergent at the manufacturer-specified concentration. Use a sonicator for complex geometries or stubborn residues. Contact time should match the SOP for the specific contaminant class.
- Rinse cycle: Perform a minimum of three sequential rinses with deionized water (resistivity >18 MΩ·cm) to remove all detergent traces. A final rinse with ultrapure water is recommended for high-sensitivity assays.
- Residue testing: Conduct a swab or rinse test and analyze by TOC or conductivity measurement. Record the result in the cleaning log before proceeding.
- Drying: Dry labware in a validated oven or laminar flow hood. Avoid paper towels or cloths that may introduce fiber contamination.
- Disinfection: Apply the scheduled disinfectant according to the rotation plan. GMP-compliant cleaning frequencies specify daily disinfection for Class A/B cleanroom environments.
- Storage: Store cleaned and disinfected labware in sealed, labeled containers or bags within the appropriate cleanroom zone. Record storage date and expiry of sterility.
| Labware type | Cleaning method | Sterilization method | Single-use? |
|---|---|---|---|
| Borosilicate glassware | Detergent + sonication | Autoclave | No |
| Polypropylene tubes | Detergent + rinse | Gamma irradiation (factory) | Yes (preferred) |
| Microfluidic chips | Solvent flush + plasma treatment | UV or plasma | Context-dependent |
| Pipette tips | N/A | Factory-sterilized | Yes |
For labs working with bacteriostatic water handling or reconstitution workflows, particular attention should be paid to vial stoppers, syringes, and transfer equipment, which must remain sterile throughout the process. Proper sample labeling and storage after cleaning is equally important to prevent mix-ups.
Pro Tip: To avoid reconstitution contamination, always inspect labware visually under adequate lighting before use, even if it has passed residue testing. Micro-cracks and surface films are not always detectable by chemical methods alone. In microfluidic applications, bubble mitigation methods such as degassing and surfactant pre-wetting should be incorporated into the preparation protocol to prevent flow disruption. Even with perfect processes, issues can arise, so the next section addresses how to verify integrity and address failures.
Verify results: Testing, monitoring, and troubleshooting
Verification is the quality gate that confirms cleaning and handling procedures have achieved their intended outcome. Without systematic monitoring, even well-designed SOPs can drift from their validated state without detection.
Residue testing methods
Three primary methods are used to verify labware cleanliness:
- Swab testing: A moistened swab is used to sample a defined surface area, then analyzed by TOC, HPLC, or UV spectroscopy. Best suited for flat surfaces and large vessels.
- Rinse sampling: A measured volume of solvent is used to rinse the interior of the labware, then analyzed for residue content. Effective for complex geometries.
- Spectroscopic analysis: Non-destructive methods such as FTIR or Raman spectroscopy can detect surface films without contact. Increasingly used for high-value or fragile labware.
Monitoring key lab consumables and documenting failures
Every residue test result, whether passing or failing, must be entered into the cleaning log with the operator’s identification and timestamp. Failures trigger a deviation report, which must include a root cause analysis and a documented CAPA. Repeated failures in the same equipment or by the same operator indicate a systemic issue requiring SOP revision or retraining.
Symptoms of compromised labware integrity include:
- Inconsistent assay results across replicate samples
- Unexpected pH shifts in buffered solutions
- Visible residue, cloudiness, or film on labware surfaces
- Persistent microbial contamination despite disinfection
- Anomalous baseline readings in spectroscopic or chromatographic assays
Monitoring labware purity through routine residue testing is the most reliable early warning system for process drift in regulated research environments.
For advanced setups, particularly microfluidic platforms, advanced microfluidic troubleshooting addresses bubble formation as a specific integrity threat. Bubbles in microfluidic channels disrupt laminar flow, introduce measurement artifacts, and can physically damage sensitive chip architectures. Mitigation strategies include degassing inlet solutions, plasma treatment of channel surfaces to improve wettability, and surfactant pre-wetting protocols. These interventions should be documented as part of the equipment-specific SOP. Now that you have science-backed processes, it is time for a seasoned perspective on what actually works in real labs.
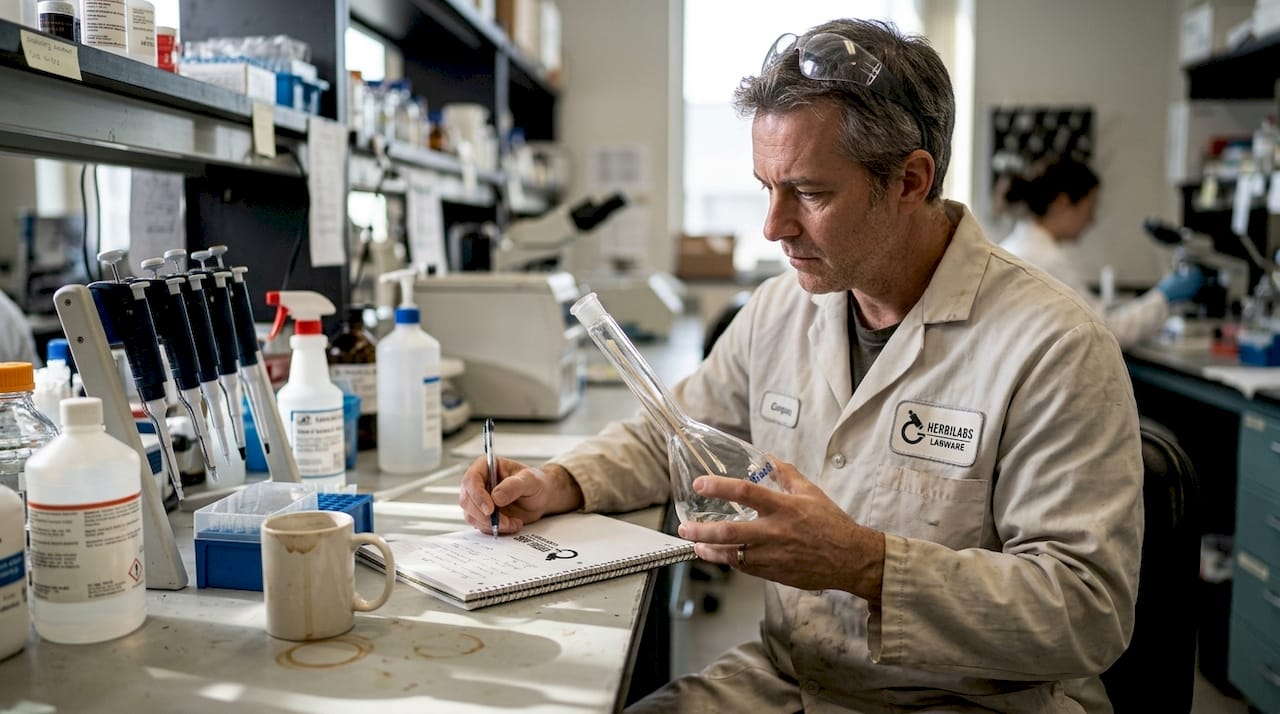
A laboratory manager’s perspective: What truly keeps labware reliable
After years of working within GMP-regulated environments, one pattern becomes clear: the labs that maintain the most reliable labware integrity are not necessarily the ones with the most elaborate documentation systems. They are the ones where daily vigilance is a genuine habit, not a compliance performance.
Over-reliance on documentation can, counterintuitively, create blind spots. When staff focus on completing log entries rather than observing the actual condition of labware, process drift goes unnoticed until a failed audit or an unexplained experimental anomaly forces a review. The checklist becomes a substitute for judgment rather than a support for it.
The most common shortcuts we observe are rushed pre-rinses, skipped residue tests during high-throughput periods, and disinfectant rotation schedules that exist on paper but not in practice. These are not malicious failures. They are the predictable result of under-resourced teams and unrealistic throughput expectations.
Pragmatic solutions include integrating consumables workflow lessons directly into daily team briefings, assigning named accountability for each cleaning cycle, and conducting unannounced internal audits that focus on observed behavior rather than paperwork. Habits, not checklists, are what keep labware reliable over time.
Take your labware integrity further with trusted solutions
For labs that require consistently pure reconstitution solutions and research-grade reagents to support their labware workflows, Herbilabs provides bacteriostatic water and sterile diluents manufactured under strict quality controls. When your procedures are solid, the reagents you use must match that standard.
Explore our curated resources to strengthen every stage of your workflow: guidance on selecting lab reagents for peptide research, quality control best practices for regulated environments, and a detailed comparison of bacteriostatic vs sterile water to inform your reconstitution decisions. Each resource is designed to support the precision your research demands.
Frequently asked questions
What are the most effective cleaning agents for EU labware?
Validated disinfectants, including 70% IPA, quaternary ammonium compounds, and peracetic acid solutions, are required under EU GMP Annex 1 and must be rotated regularly to prevent microbial resistance development.
How often should labware be cleaned in a GMP environment?
Class A/B cleanroom labware requires daily cleaning with full documentation per validated SOPs, while lower-class environments follow risk-based frequencies defined in their cleaning validation reports.
What’s the best way to check labware for residue?
Swab tests, rinse sampling, and spectroscopic analysis are the three validated approaches, and results should be recorded in batch logs to support trend analysis and audit readiness.
How do you mitigate bubble issues in microfluidic labware?
Degassing inlet solutions, applying plasma treatment to channel surfaces, and using surfactant pre-wetting protocols can maintain flow integrity and prevent measurement artifacts in microfluidic systems.