Private Label, White Label, Wholesale partnerships available - EU, USA and UK - Free shipping from €75

5ml Sterile Vials: A Practical Guide for Research Labs
A researcher has a lyophilized peptide on the bench, a measured volume of diluent in a syringe, and one deceptively simple choice to make: which vial should hold the finished solution? The answer affects how easily the material can be reconstituted, how often the closure can be accessed, how much headspace remains, and whether the lot can be traced later.
5ml sterile vials work well in many research-use-only workflows because their capacity supports small-volume preparation without automatically committing the lab to a large container. The format isn't just a disposable vessel. It's a coordinated decision involving glass, finish, stopper, seal, fill volume, access frequency, storage, and documentation.
Table of Contents
- Why a 5 mL Vial Matters at the Bench
- Anatomy of a 5 mL Sterile Vial
- Comparing 5 mL to Other Vial Formats
- Closure Types and Multi-Dose Access
- Reconstituting Lyophilized Materials in 5 mL Vials
- Lot Documentation and QA Review
- Choosing and Sourcing 5 mL Sterile Vials
Why a 5 mL Vial Matters at the Bench
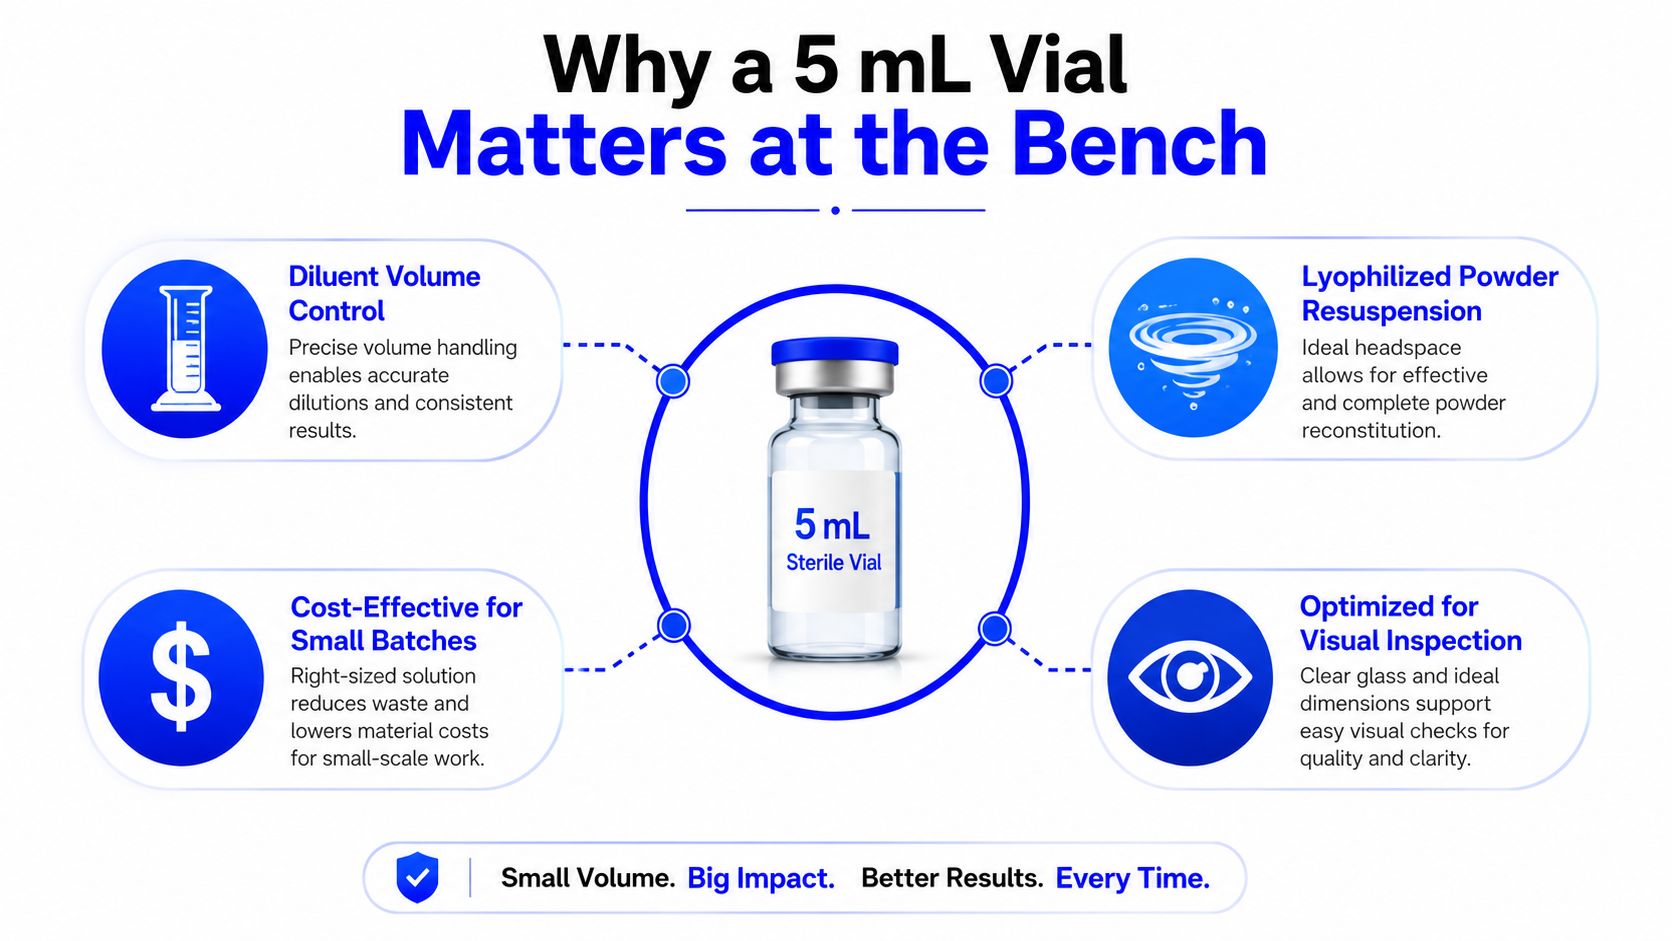
The researcher checks the vial label before drawing up the diluent. A smaller container might leave little room for controlled delivery and gentle mixing. A larger one could create unnecessary headspace and expose more surface area to repeated handling. The 5 mL format sits between those extremes, giving small-batch workflows useful working room while keeping the container compact.
That balance matters during peptide, protein, antibody, and other lyophilized-material workflows. The vial must hold the added liquid, accommodate movement during gentle swirling, and leave enough visibility for inspection. At the same time, the researcher needs to avoid choosing a capacity that encourages preparation of more material than the experiment can use responsibly.
A 5 mL vial also carries a long packaging history. A FDA DailyMed listing for Sterile Water for Injection records a 5 mL single-dose vial, packaged 25 per tray, with a marketing start date of 09/30/1990. The listing specifies a pH range of 5.0 to 7.0, reinforcing that this format has been used in pharmaceutical-grade sterile handling rather than only in general laboratory storage.
Practical rule: Choose the smallest vial that accommodates the intended fill, mixing motion, inspection, and access pattern without forcing awkward handling.
The tray format also affects inventory control. A 25-vial tray supports unit-level storage and handling, which can make small sterile containers easier to issue, count, and reconcile across hospital, pharmacy, and laboratory channels. The relevance of the format is therefore operational as much as dimensional.
The broader packaging context is substantial. One pharmaceutical glass packaging market estimate places the global market at USD 23.9 billion in 2025, with a projected rise to USD 63.1 billion by 2035, while the vials segment is estimated at about USD 8.4 billion in 2025. A separate pharmaceutical glass vials and ampoules market estimate values that broader market at USD 8.01 billion in 2023 and projects USD 12.0 billion by 2035. Those figures cover wider vial categories, not 5 mL alone, but they show why this small format remains part of a durable sterile-packaging ecosystem.
Anatomy of a 5 mL Sterile Vial
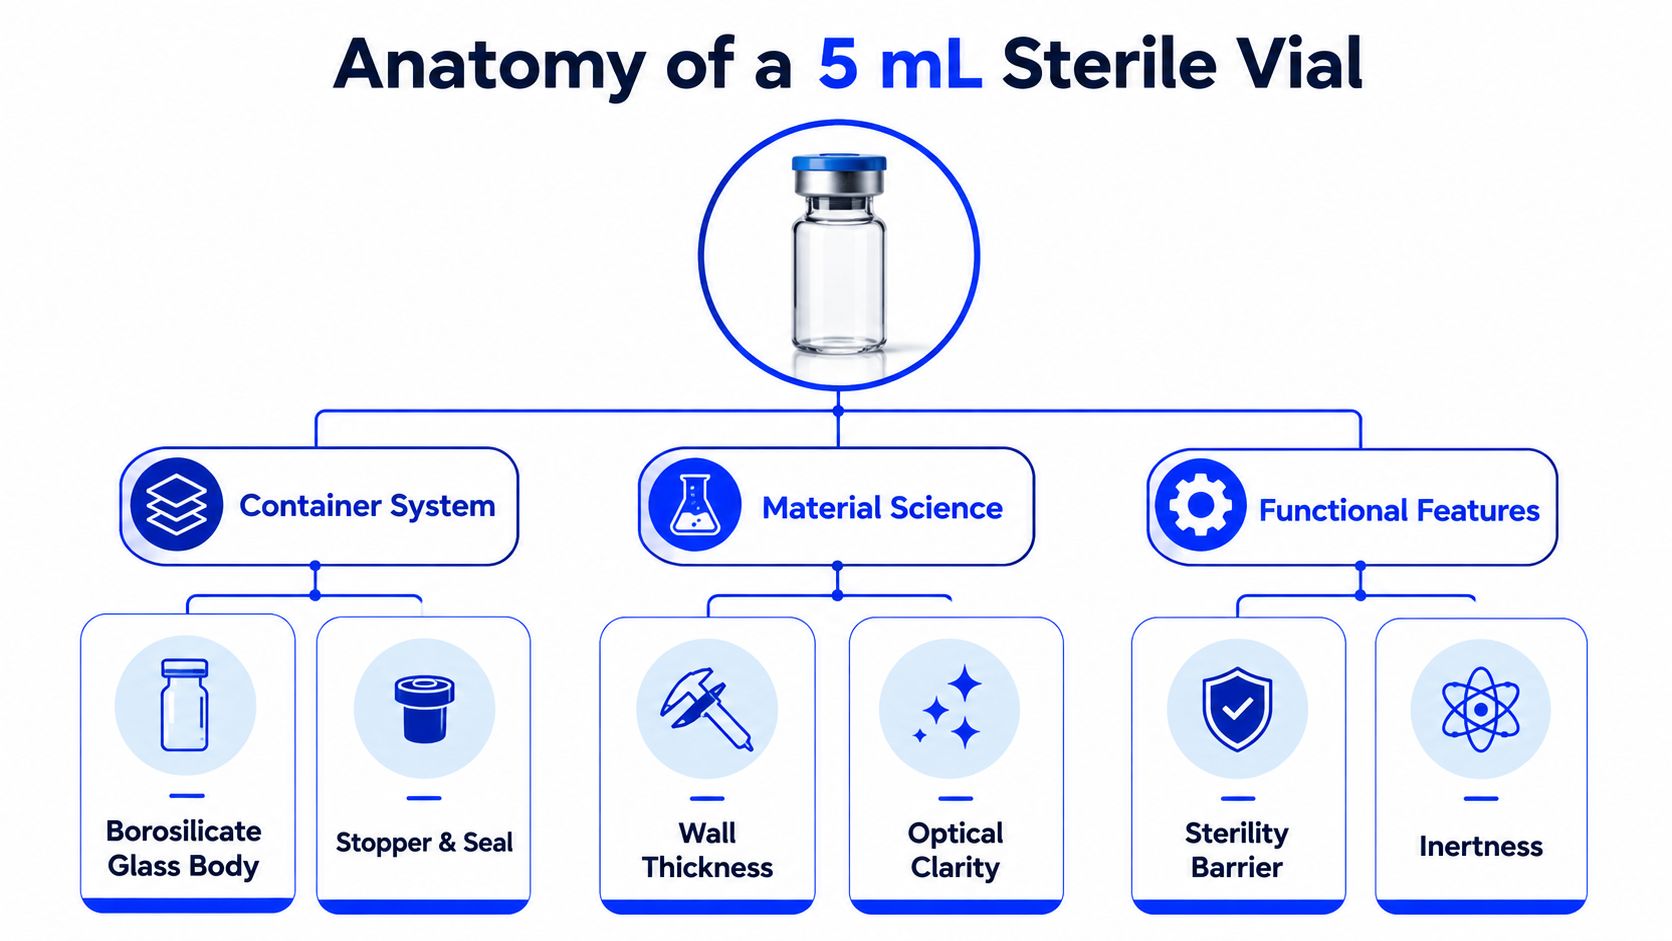
A 5 mL sterile vial is a container system, not merely a glass bottle. The body, neck finish, stopper, aluminum seal, and internal fill space all contribute to how the vial behaves at the bench.
The glass body and finish
The body is commonly made from Type I borosilicate glass. This glass is selected for chemical resistance and lower alkali release, properties that matter when aqueous or biologic formulations remain in contact with the inner surface. Clear glass also gives the researcher a direct view of the contents, making it easier to inspect for particles, discoloration, incomplete dissolution, or unexpected films.
A cataloged Thermo Fisher 5 mL sterile vial provides a concrete dimensional example. It uses a 20 mm crimp finish, has an outer diameter of 19.84 mm, and measures 38.1 mm in height. The 20 mm neck is significant because it supports compatibility with established stoppering and crimping equipment.
The finish is the shaped opening at the top of the vial. It determines which stopper and seal fit correctly. A 20 mm closure can't be treated as interchangeable with a narrower finish because both containers are described as 5 mL.
The stopper and aluminum seal
The elastomer stopper sits inside the vial opening and forms the puncturable barrier. Butyl and bromobutyl materials are common choices because they provide a practical balance of resealing behavior, chemical compatibility, and resistance to gas transfer. The exact elastomer should still be matched to the formulation and storage conditions rather than selected by appearance alone.
An aluminum seal holds the stopper in place and protects the closure from accidental disturbance. A flip-off cap provides a visual access point, while the underlying metal crimp and elastomer remain the actual closure system. Before use, the researcher should check that the crimp is even, the stopper is seated, and the cap hasn't shifted.
Fill volume, headspace, and sterility
Nominal capacity isn't the same as recommended working fill. A vial labeled 5 mL may need headspace for controlled diluent addition, movement, and pressure management. The researcher should follow the formulation or material-specific instructions and avoid treating the nominal volume as a target fill by default.
“Sterile” also needs a precise meaning. A supplier should identify whether the product was sterilized by gamma irradiation, processed through another validated cycle, or filled aseptically. The vial's sterility claim belongs to the complete package, including the closure and packaging process, not to the glass body in isolation.
For RUO purchasing, the useful questions are straightforward: What glass type is used? Which finish matches the lab's closure equipment? What stopper material is installed? How was sterility established? What inspection and release records accompany the lot?
Comparing 5 mL to Other Vial Formats
Capacity decisions become clearer when the researcher compares the vial with the expected workflow rather than with a catalog photograph. Three questions usually determine the answer: How much liquid must be added? How often will the vial be accessed? How much material could be wasted if the container is too large?
| Format | Typical Use | Access Frequency Fit | Waste Risk | Best For |
|---|---|---|---|---|
| 3 mL | Very small preparations and tightly controlled aliquots | Occasional access or single-use preparation | Low container volume, but limited working room | Small fills where mixing space isn't important |
| 5 mL | Peptide, protein, antibody, and small-molecule RUO preparation | Occasional to repeated access, depending on closure and protocol | Balanced capacity with moderate waste exposure | Small batches requiring headspace and visual inspection |
| 10 mL | Larger reconstitution volumes or more frequent withdrawals | Repeated access when the prepared volume justifies it | More residual material if the workflow is small | Workflows that need more room than 5 mL provides |
| 20 mL | Shared preparations and larger working solutions | Frequent access under a controlled aseptic procedure | Higher risk of unused material | Teams preparing a common solution for several users |
| 30 mL | Larger-volume preparation or distribution into multiple downstream uses | Frequent access with established handling controls | Highest mismatch risk for small experiments | Workflows where capacity and fewer refills outweigh waste concerns |
A 3 mL vial can be efficient when the intended fill is small and the researcher doesn't need much movement inside the container. It becomes frustrating when the neck, liquid level, or internal space makes it difficult to deliver diluent down the wall or inspect the bottom of the vial. Repeated transfers or refills may then create more handling opportunities.
A 10 mL vial can make sense when the preparation needs more headspace, more liquid, or more withdrawals than a 5 mL container can comfortably support. The larger format isn't automatically safer, though. If the working volume remains small, the unused capacity may encourage over-preparation and leave more material exposed to a longer storage period.
The 20 mL and 30 mL formats suit shared solutions, larger reagent preparations, or workflows that would otherwise require frequent container changes. They carry a larger waste risk when the experiment is small, and their suitability depends heavily on the formulation's stability and the lab's access controls.
Selection heuristic: Start with the smallest format that leaves practical room for diluent delivery, gentle mixing, visual inspection, and the planned withdrawal pattern.
The strongest choice is therefore not the smallest vial in the catalog. It's the smallest vial that lets the researcher perform the full workflow without forcing extra transfers or excessive punctures.
Closure Types and Multi-Dose Access
The vial body determines capacity, but the closure determines how the container behaves after the first puncture. A common research-grade stack pairs a Type I borosilicate body with a 13 mm or 20 mm crimp finish, a bromobutyl or chlorobutyl stopper, and an aluminum seal with a flip-off or tear-off cap.
Crimped closures
A crimped closure provides a strong mechanical barrier and works well with validated stoppering and sealing equipment. The aluminum seal keeps the elastomer seated and helps protect the vial during storage and transport. The trade-off appears during access. A researcher may need a decapper to remove the seal cleanly, and cold storage can make handling less forgiving.
The stopper's resealing behavior depends on elastomer selection, needle design, puncture location, and technique. A lab shouldn't assume that every stopper supports the same number of withdrawals or that an in-use period automatically makes repeated access acceptable.
A bacteriostatic multi dose vial guide can help researchers distinguish the container's physical resealing ability from the broader handling requirements of a multi-dose workflow. The presence of a resealable stopper doesn't remove the need for aseptic access, dating, storage control, and discard rules.
Threaded caps and shared handling
Threaded plastic caps are easier to open and close in shared refrigerators and small laboratories. They can be convenient when the workflow prioritizes quick access and the formulation isn't relying on a crimped pharmaceutical closure. Their barrier behavior and compatibility still require supplier confirmation, especially when temperature changes or repeated opening are part of the protocol.
| Closure Type | Typical Reseal Cycles | Needle Gauge Range | Best Fit Scenario | Main Trade-off |
|---|---|---|---|---|
| Crimped aluminum with butyl stopper | Supplier-validated repeated access | Match the validated stopper and needle system | Controlled multi-dose RUO workflows | Requires careful access and suitable decapping tools |
| Crimped aluminum with bromobutyl stopper | Supplier-validated repeated access | Match the validated stopper and needle system | Formulations needing a robust elastomer barrier | Compatibility must be confirmed for the formulation |
| Threaded plastic cap with liner | Repeated opening under the supplier's instructions | Not applicable to cap-only access | Shared storage and low-complexity sample handling | May provide a different barrier profile than a crimp closure |
For any stated in-use period, the bench record should include the opening date, diluent or formulation, storage condition, and discard date. Public product information for reconstituted materials also emphasizes gentle handling, inspection, and clear in-use labeling. A closure is only one part of that control system.
Reconstituting Lyophilized Materials in 5 mL Vials
The researcher starts by checking the material's instructions, not by choosing a diluent from habit. Sterile water may suit a single-day preparation, a bacteriostatic solution may fit a short repeated-access study where its composition is appropriate, and a defined buffer may be necessary when the peptide or protein has a narrow pH tolerance. The material supplier's compatibility instructions take priority.

Before access, the researcher inspects the vial, confirms the identity and lot, cleans the septum with the approved disinfectant, and prepares the diluent and syringe or pipette. The diluent should be delivered slowly against the vial wall, rather than dropped directly onto the lyophilized cake. That approach reduces the risk of foaming and limits the force placed on fragile material.
The next step is gentle movement. The vial can be swirled carefully until the material dissolves, but vigorous shaking or unnecessary vortexing may create bubbles, foam, or stress for sensitive proteins and peptides. The researcher should resist the temptation to speed up a process that is easier to judge when the liquid remains calm.
A suitable reconstitution solution should be evaluated against the material's instructions, intended storage, and access plan. The vial's nominal capacity doesn't determine the correct diluent volume. The formulation owner or validated protocol does.
The neck and sidewall geometry can make the process easier to observe, but they don't replace aseptic technique. A 20 mm crimp finish offers a familiar access format for compatible closure systems, while clear straight-sided glass supports inspection against a light background.
The reconstitution demonstration video can be viewed as a visual supplement to written handling instructions.
Inspection before the first withdrawal
After mixing, the researcher holds the vial so the liquid can be examined from several angles. A clear solution may be expected, but the acceptable appearance depends on the material. Opalescence, visible particles, fibers, discoloration, an undissolved cake, or a thin film on the glass should trigger a review of the product-specific instructions before use.
A practical inspection list includes:
- Appearance: Confirm that the solution matches the expected clarity or appearance.
- Particles: Look for fibers, glass fragments, undissolved material, or other visible contamination.
- Dissolution: Check that the lyophilized material has fully dispersed rather than remaining attached to the wall or base.
- Recordkeeping: Mark the opening date, diluent, storage condition, and discard date required by the protocol.
A 5 mL vial can provide useful viewing room without the bulk of a larger vessel. A 3 mL format may still be entirely suitable for a small preparation, but the researcher should verify that the liquid level and container geometry permit a confident inspection.
Lot Documentation and QA Review
A vial can look perfect and still arrive with inadequate paperwork. For reproducible RUO work, the lot record connects the physical container to the supplier's release process, the shipment, and the experiment that used it.
What the paperwork should identify
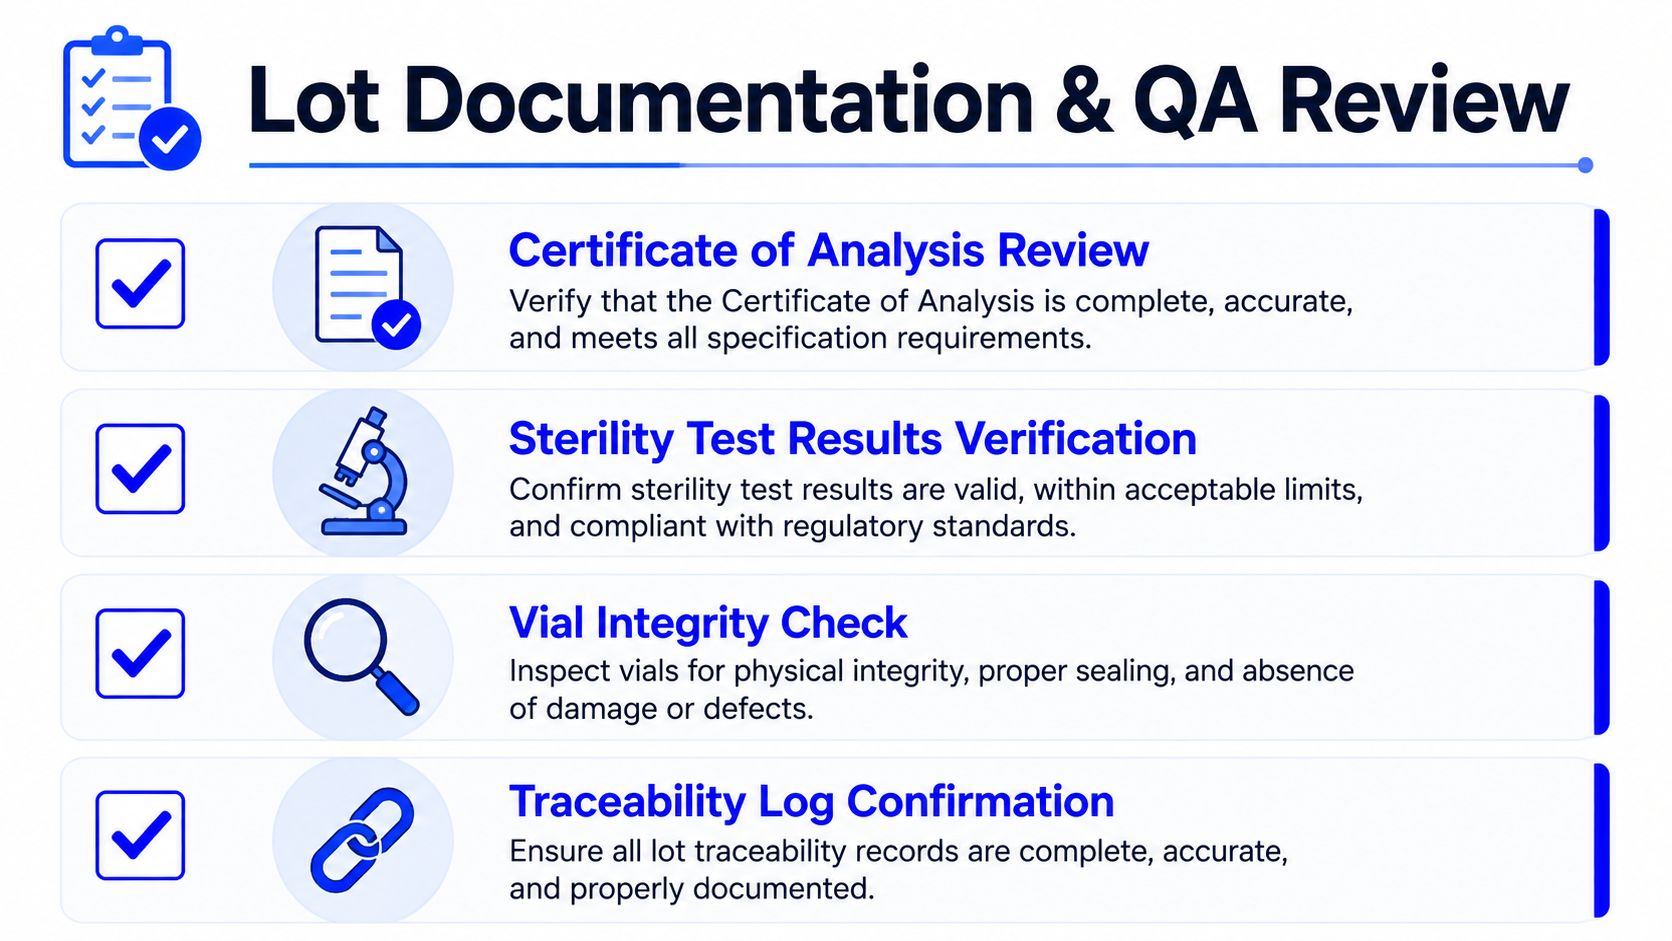
The Certificate of Analysis should identify the product, lot, specification, test method, and release status. The sterility information deserves close reading. A laboratory should determine whether the document reports a recognized sterility test, a validated container-closure claim, or another release basis appropriate to the intended use.
Endotoxin information also needs context. The relevant limit depends on the application and exposure route, so a buyer shouldn't accept an unexplained value merely because the document contains an endotoxin line. Particulate information, appearance criteria, and dimensional conformity can reveal whether the supplier is controlling the container itself rather than only the filled material.
The sterilization or sterility record should state the process used, such as gamma irradiation or another validated cycle, along with the applicable release details. If the supplier provides an irradiation record, the lot number on that record should match the carton and vial packaging.
The five-minute receiving review
A buyer can make the review repeatable:
- Match identities: Compare the product code, vial format, finish, and lot across the CoA, carton, and purchase record.
- Check release status: Confirm that QA released the lot and that the sterility claim is clearly described.
- Inspect the container: Look for cracks, chips, displaced stoppers, damaged crimps, and unclear labeling.
- Record dates: Capture the manufacturer's release date, receipt date, storage condition, and first-use date.
- Preserve traceability: Link the vial lot and carton information to the bench log and experiment identifier.
A useful audit habit: Record the lot before the first puncture, not after an unexpected result sends the team searching through packaging.
The record should remain accessible months later. When a dataset is questioned, the lab needs to identify which vial lot, diluent lot, storage condition, and access history were involved. A short receiving review can prevent a long troubleshooting exercise built on missing information.
Choosing and Sourcing 5 mL Sterile Vials
The purchasing decision should begin with the workflow, then move outward to the container specification. Before ordering, the researcher should confirm the required glass type, finish, stopper, seal, sterility process, storage range, and documentation package. A vial that fits the volume requirement but doesn't match the lab's closure tools or QA expectations isn't a useful substitute.
A practical pre-order screen
- Glass and clarity: Confirm that the supplier identifies the glass material and provides enough visual clarity for inspection.
- Finish compatibility: Match the 13 mm or 20 mm crimp finish to the existing stopper, seal, and crimping equipment.
- Sterility evidence: Ask how the finished container was sterilized or filled and what release records accompany the lot.
- Documentation: Request a lot-specific CoA and confirm that the product identity, sterility basis, and relevant quality tests are stated clearly.
- Storage and access: Check whether the closure and formulation support the planned temperature, puncture pattern, and in-use period.
On receipt, the team should inspect the shipment under suitable lighting, verify labels and lot numbers, and examine the seals and glass for visible damage. A defined sampling plan can be used when the lab's quality system requires incoming inspection. The acceptance method should come from the organization's procedure, not from an arbitrary visual check.
Sourcing routes create different trade-offs. A catalog distributor may offer fast ordering and familiar specifications, but lot paperwork can vary. A specialty aseptic supplier may provide more workflow-specific support, while a direct manufacturer relationship may offer better visibility into change control, packaging, and recurring lot supply. Minimum order quantities and document turnaround should be evaluated alongside unit price.
For labs sourcing diluent alongside vial workflows, bacteriostatic water wholesale is one procurement option to compare with catalog and direct-manufacturer channels. The relevant questions remain the same: product fit, lot documentation, storage, fulfillment, and suitability for the intended RUO procedure.
The lowest quoted price rarely represents the full cost if a failed preparation, unclear lot, or incompatible closure forces the experiment to be repeated. A careful buyer selects the capacity and closure combination that preserves the material and the record, then confirms that the supplier can support that choice consistently.
Herbilabs supplies sterile, non-pyrogenic reconstitution solutions in glass multi-dose vial formats for RUO workflows involving peptides, proteins, antibodies, and other lyophilized materials, with lot-specific documentation and distribution across the EU, UK, and USA. Review the available formats and documentation options by visiting Herbilabs, then match the selected diluent and vial system to the laboratory's validated handling procedure.